← Back to Radio Control Airplanes
Click any image to view full size — use arrow keys to browse all photos.
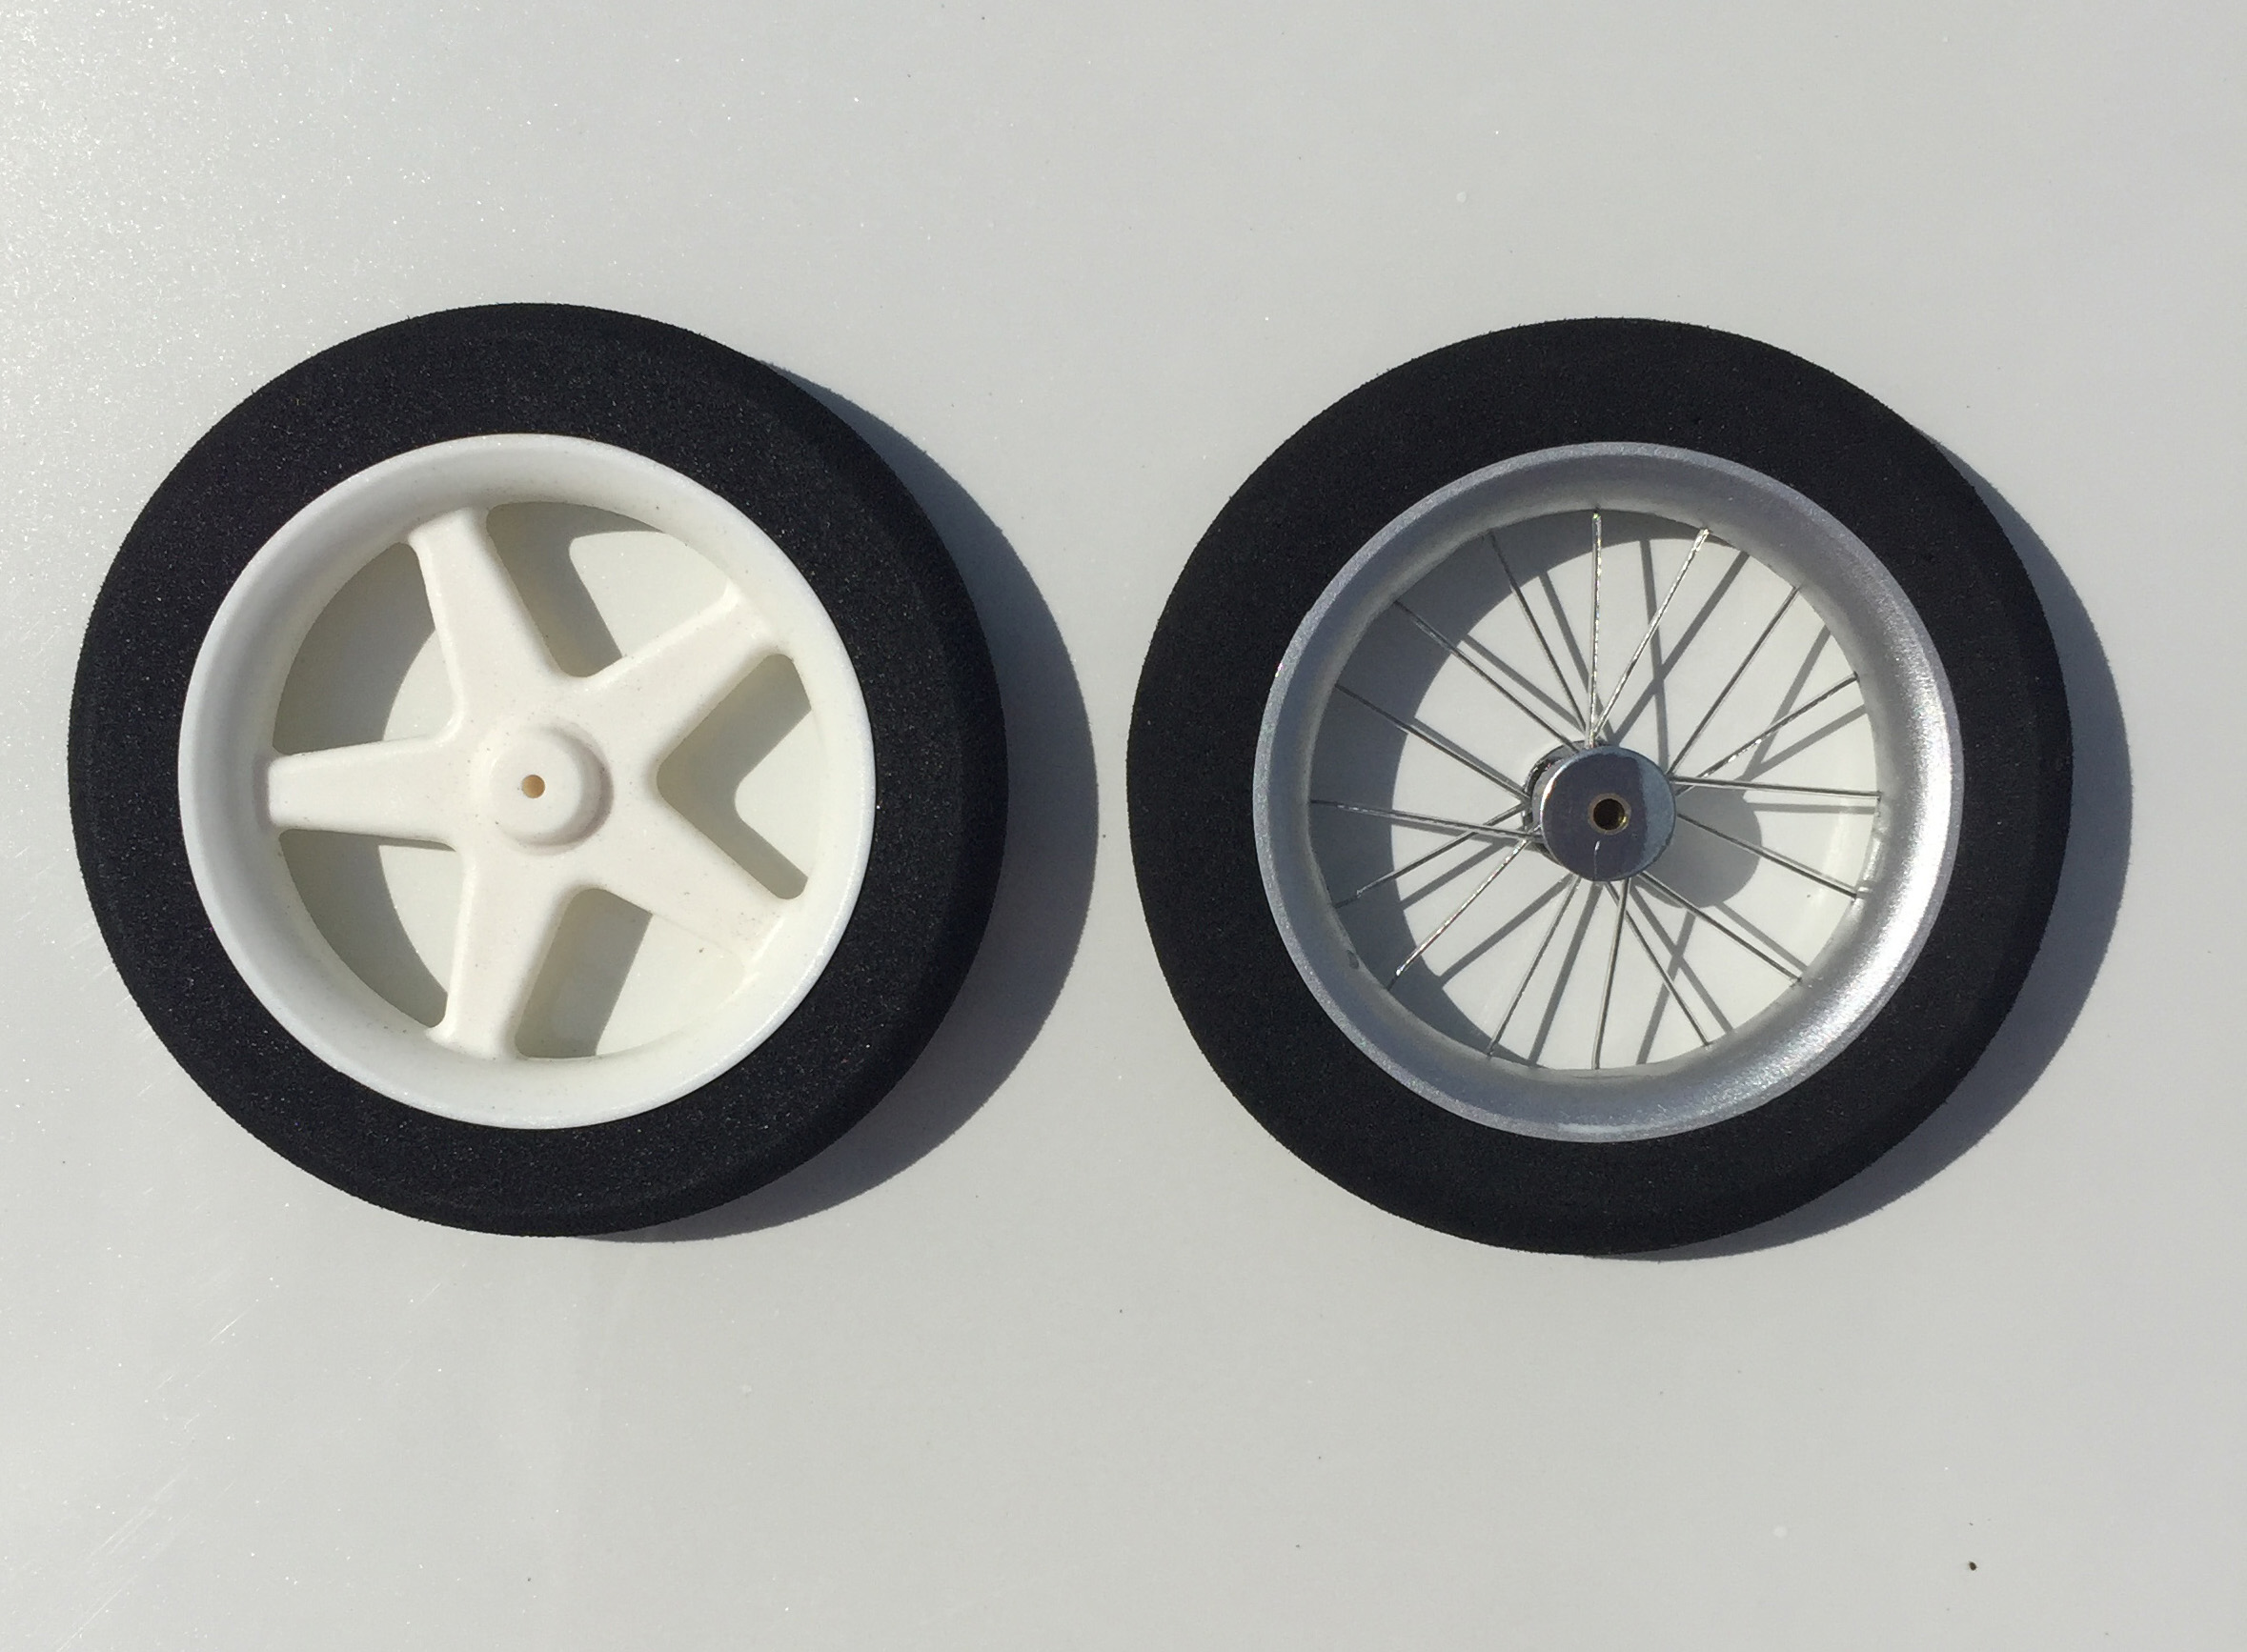
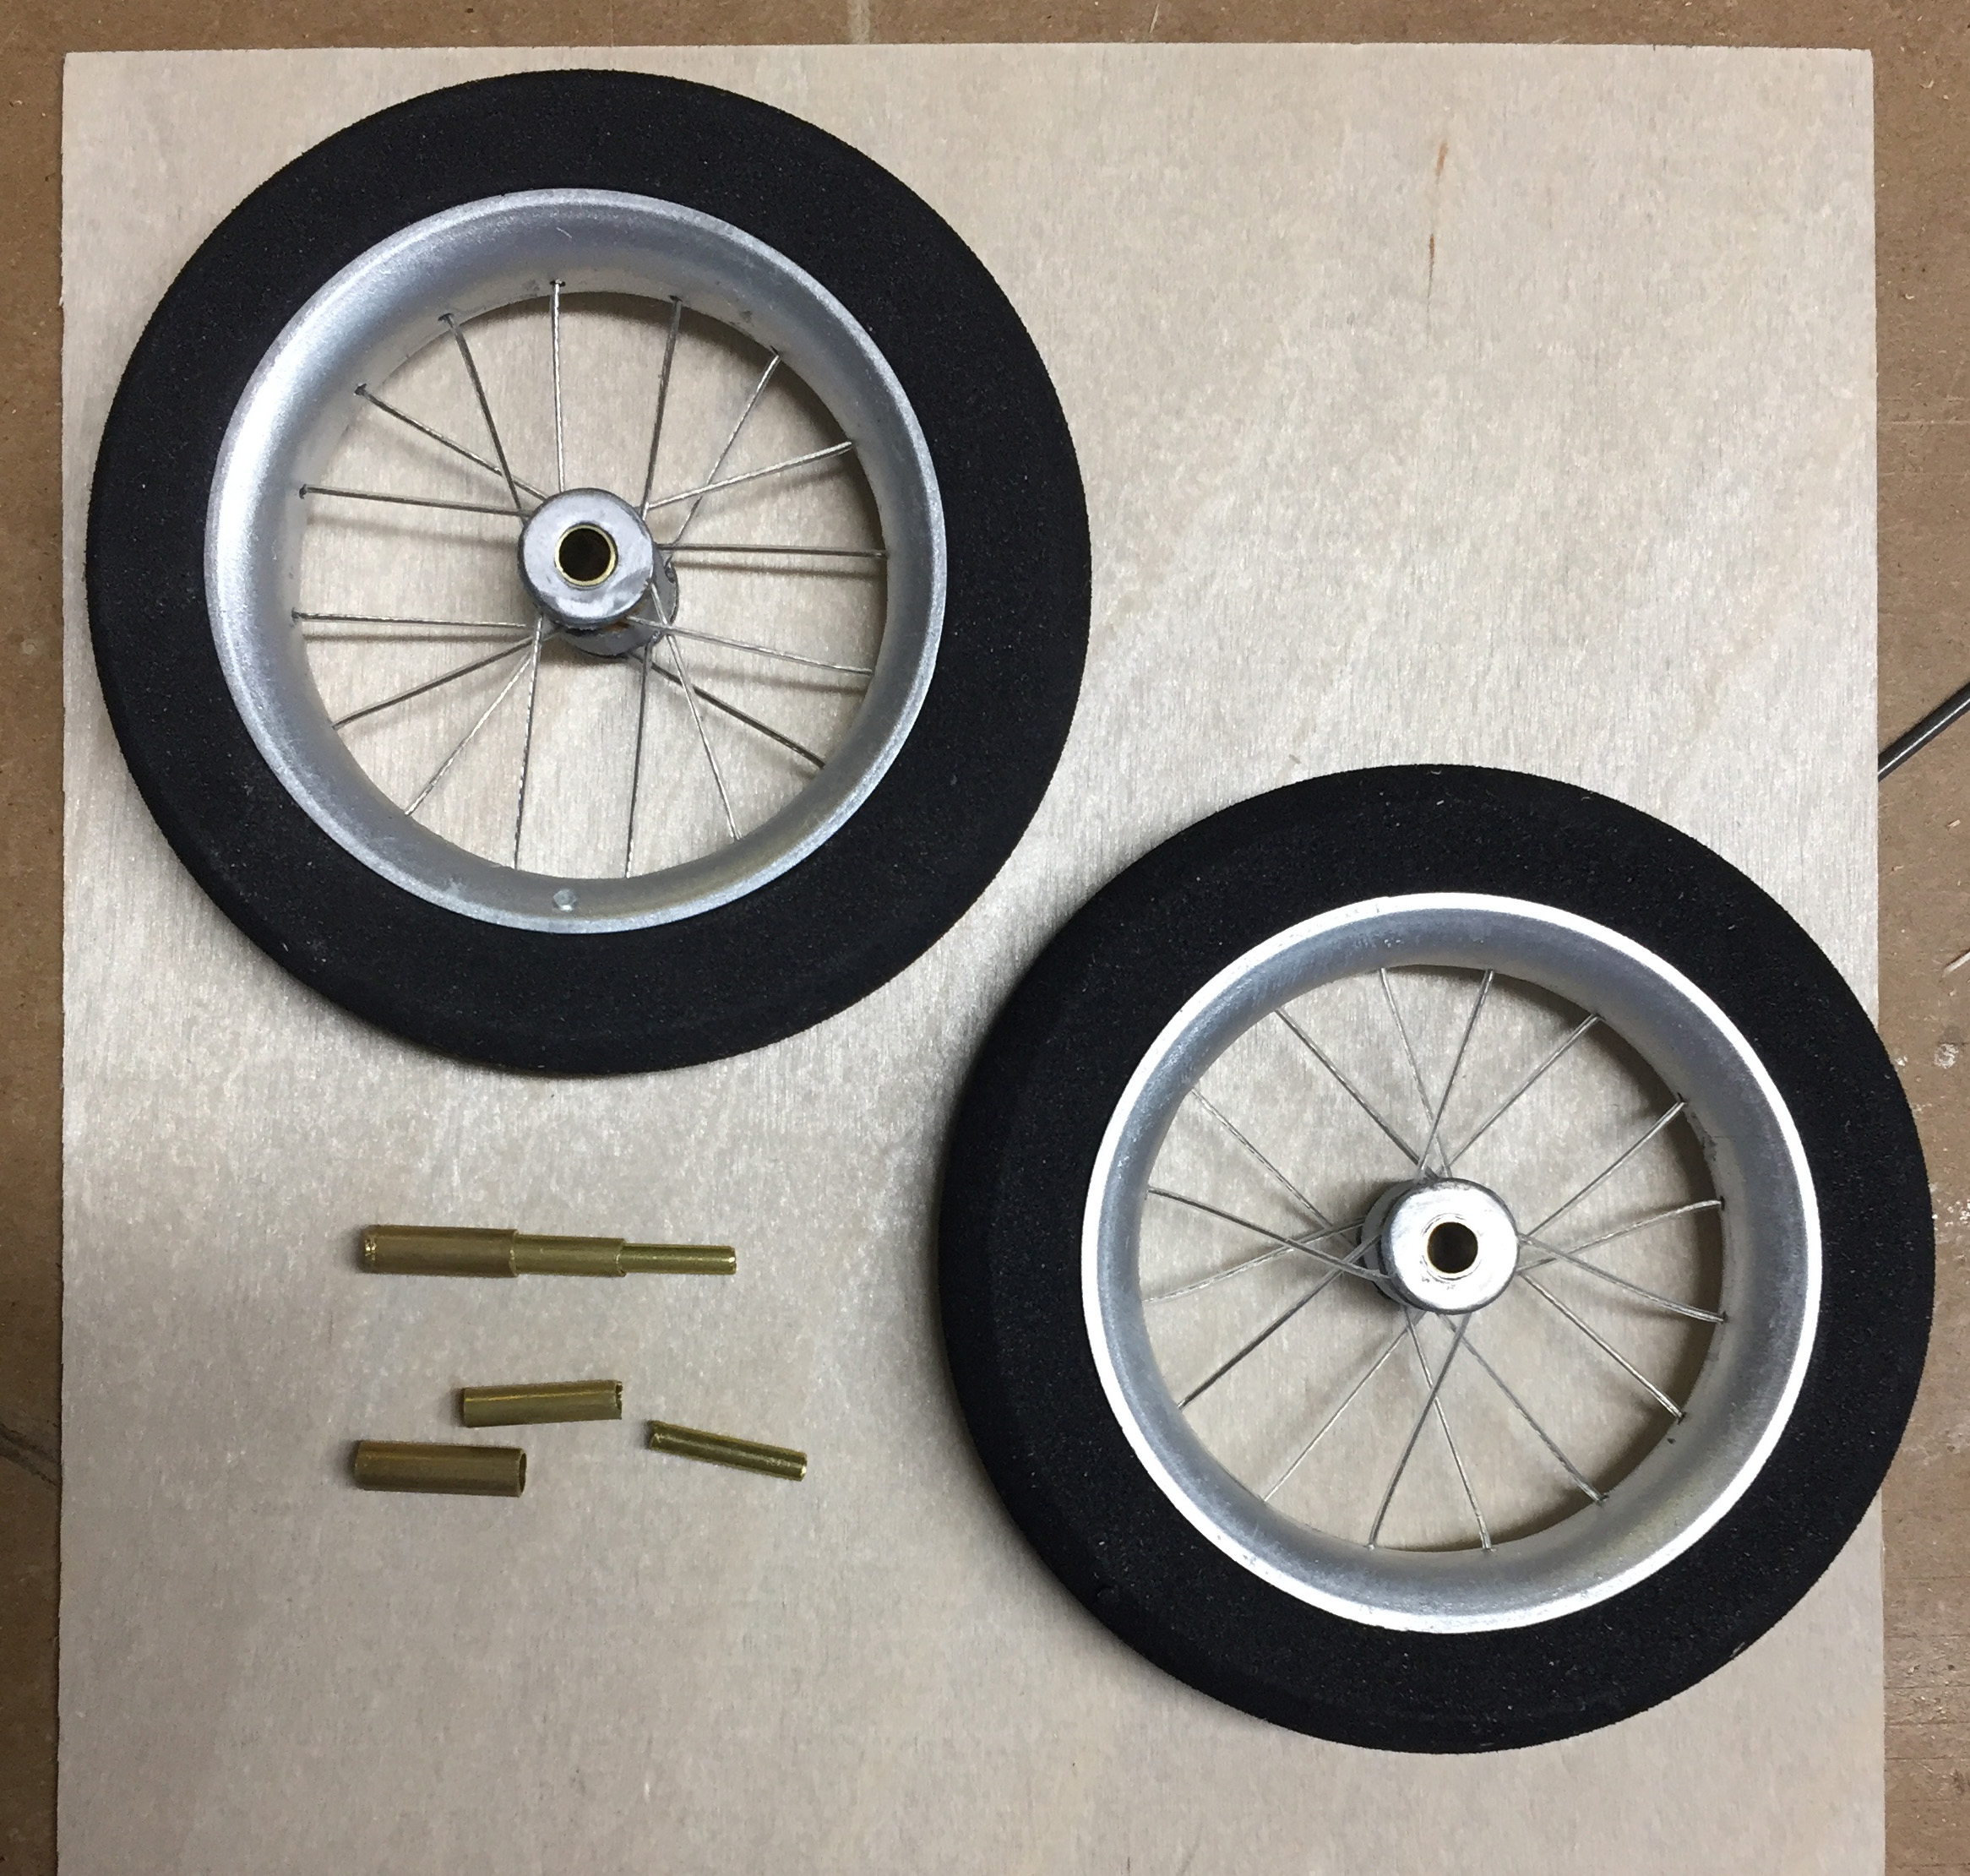
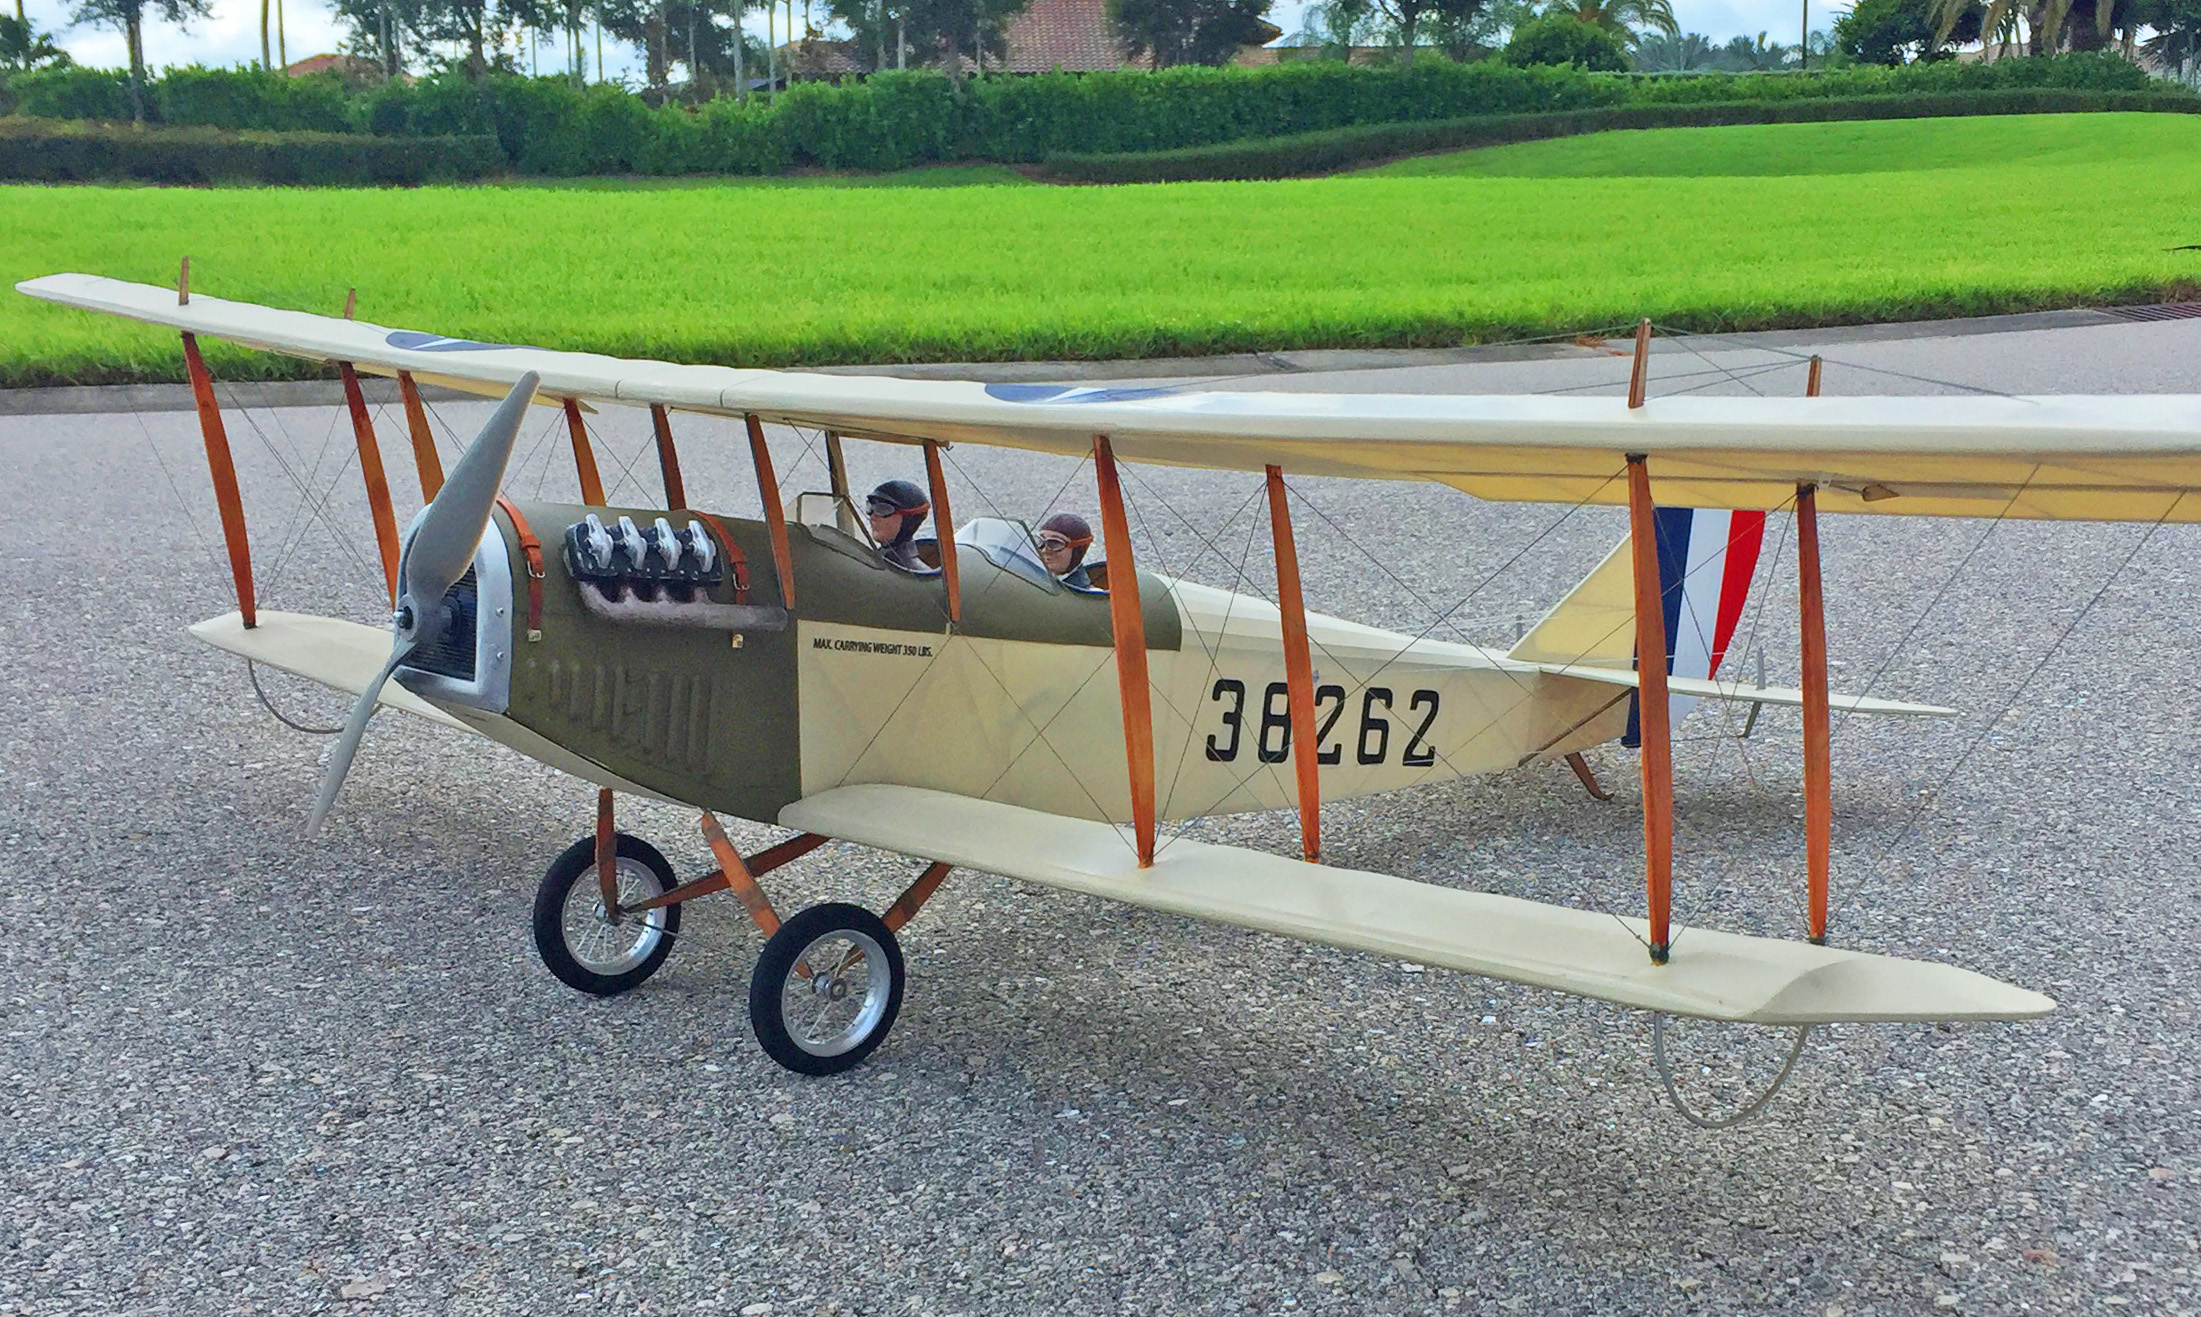
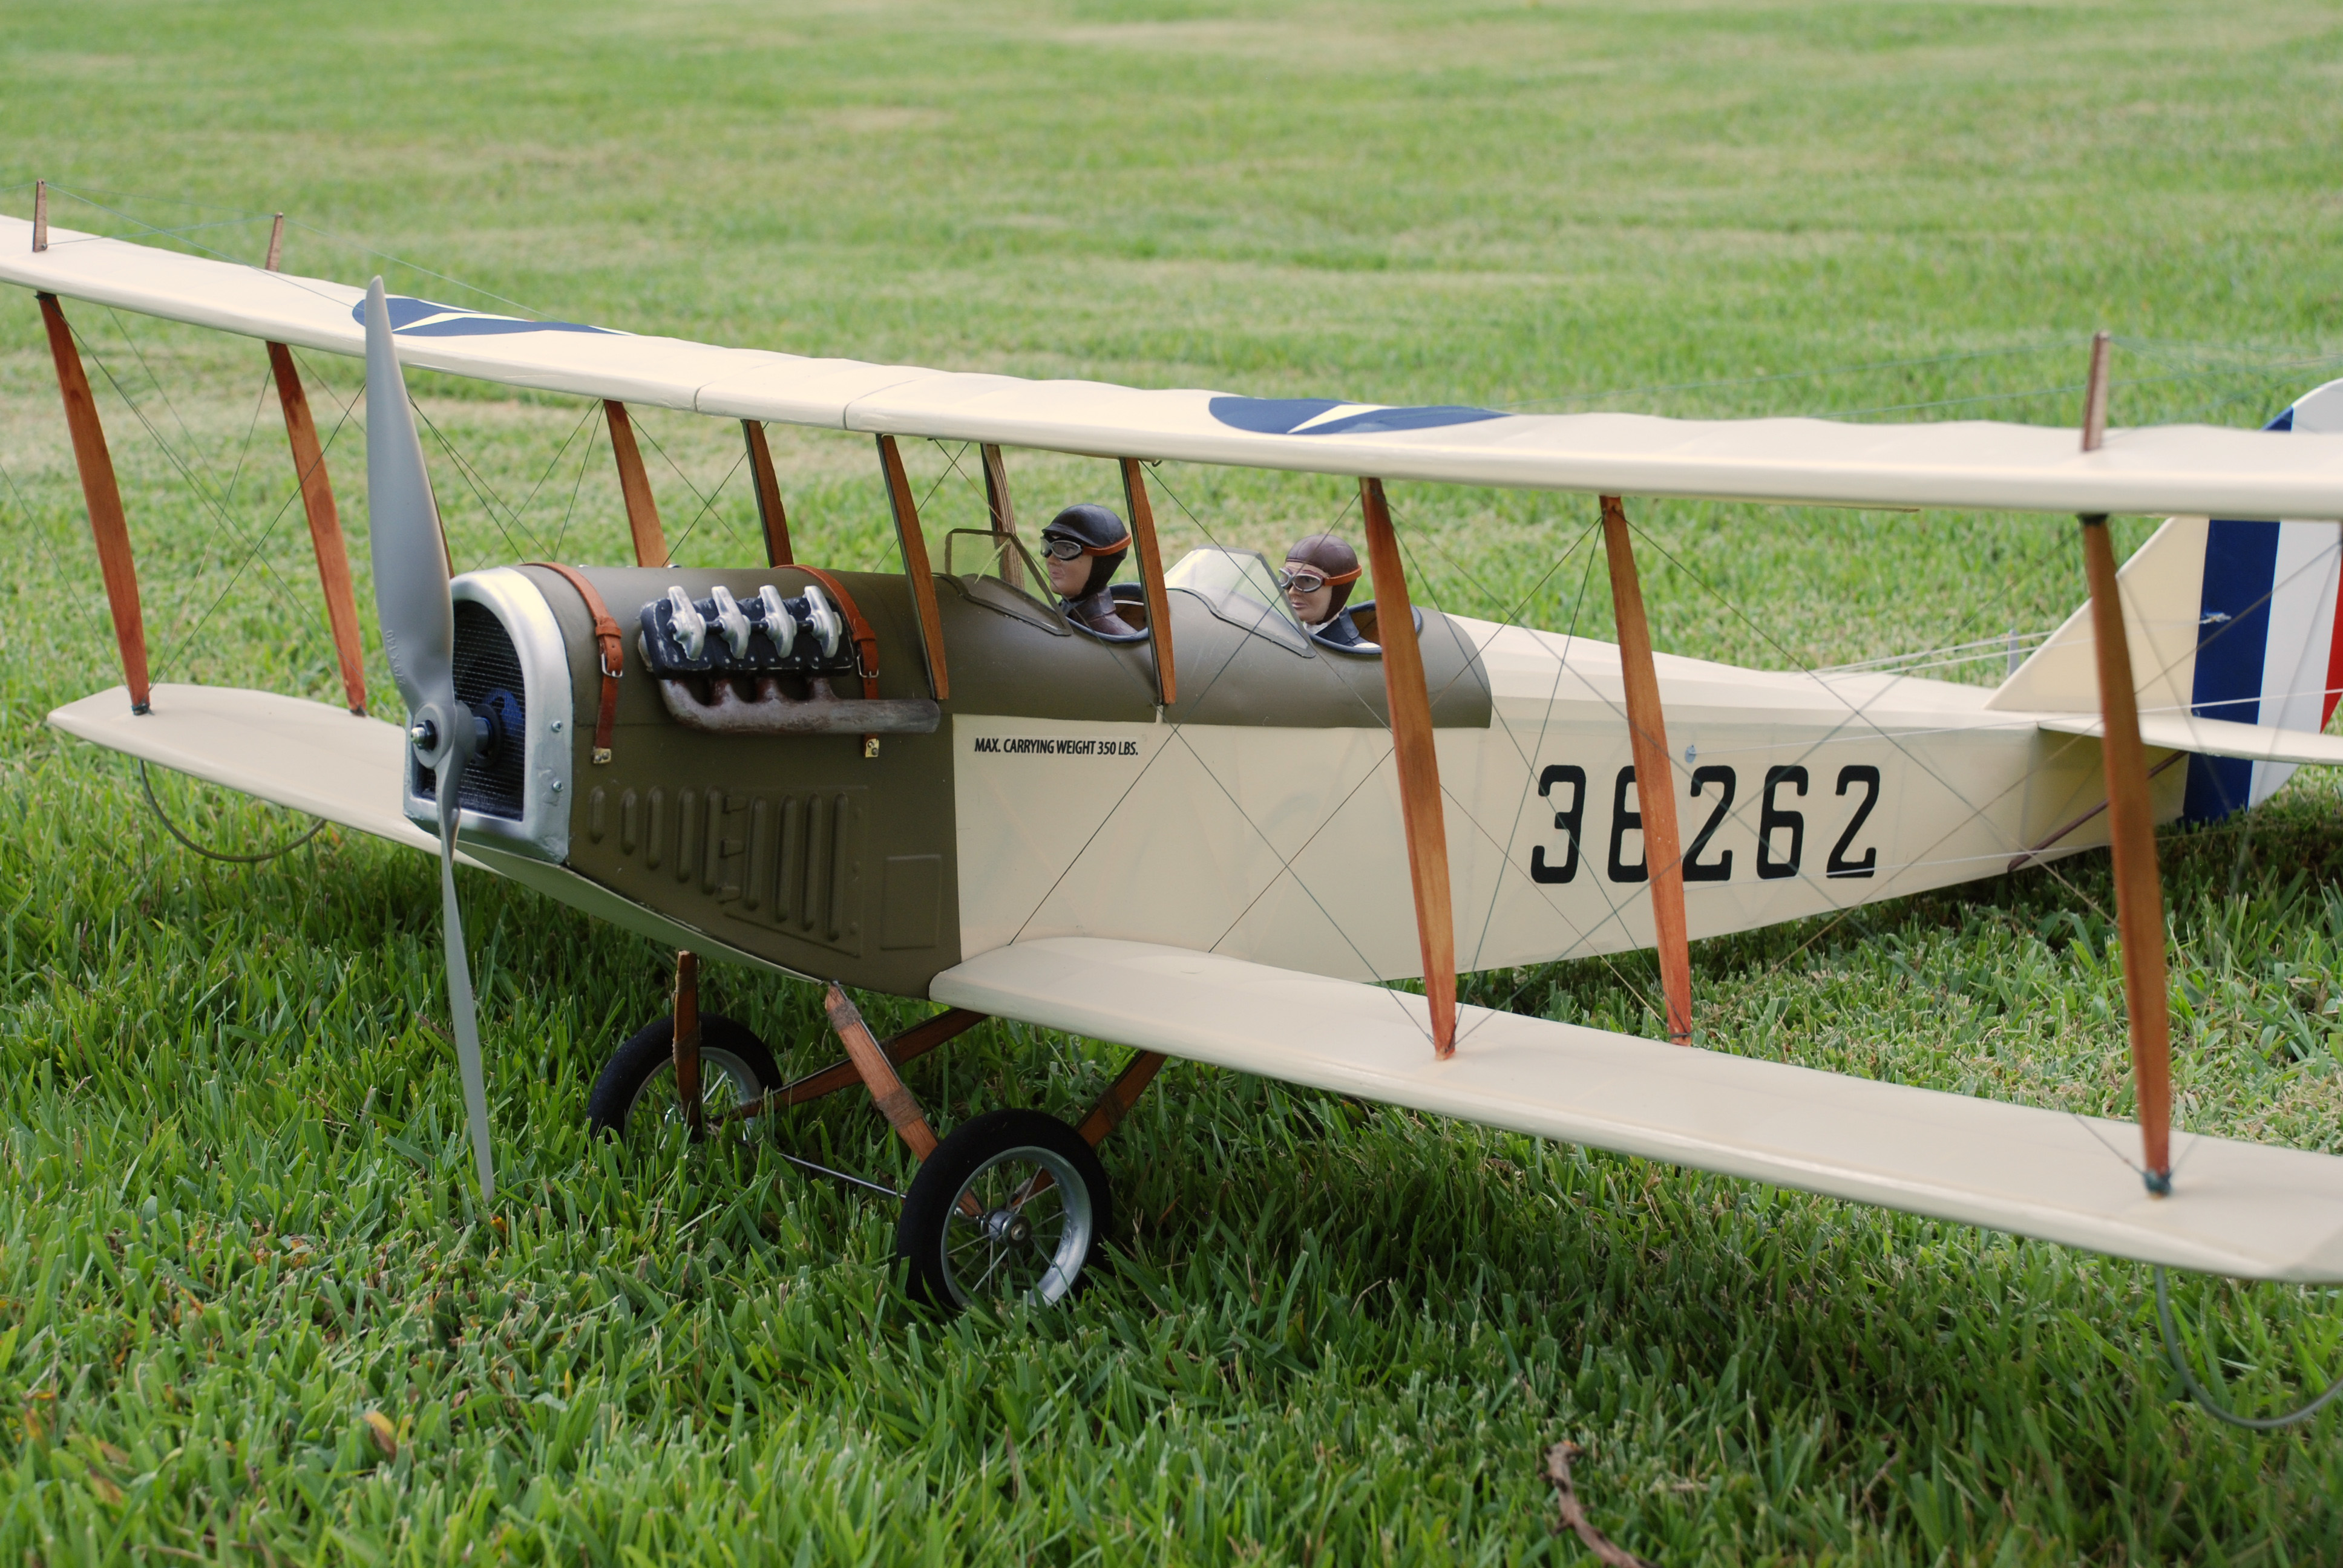
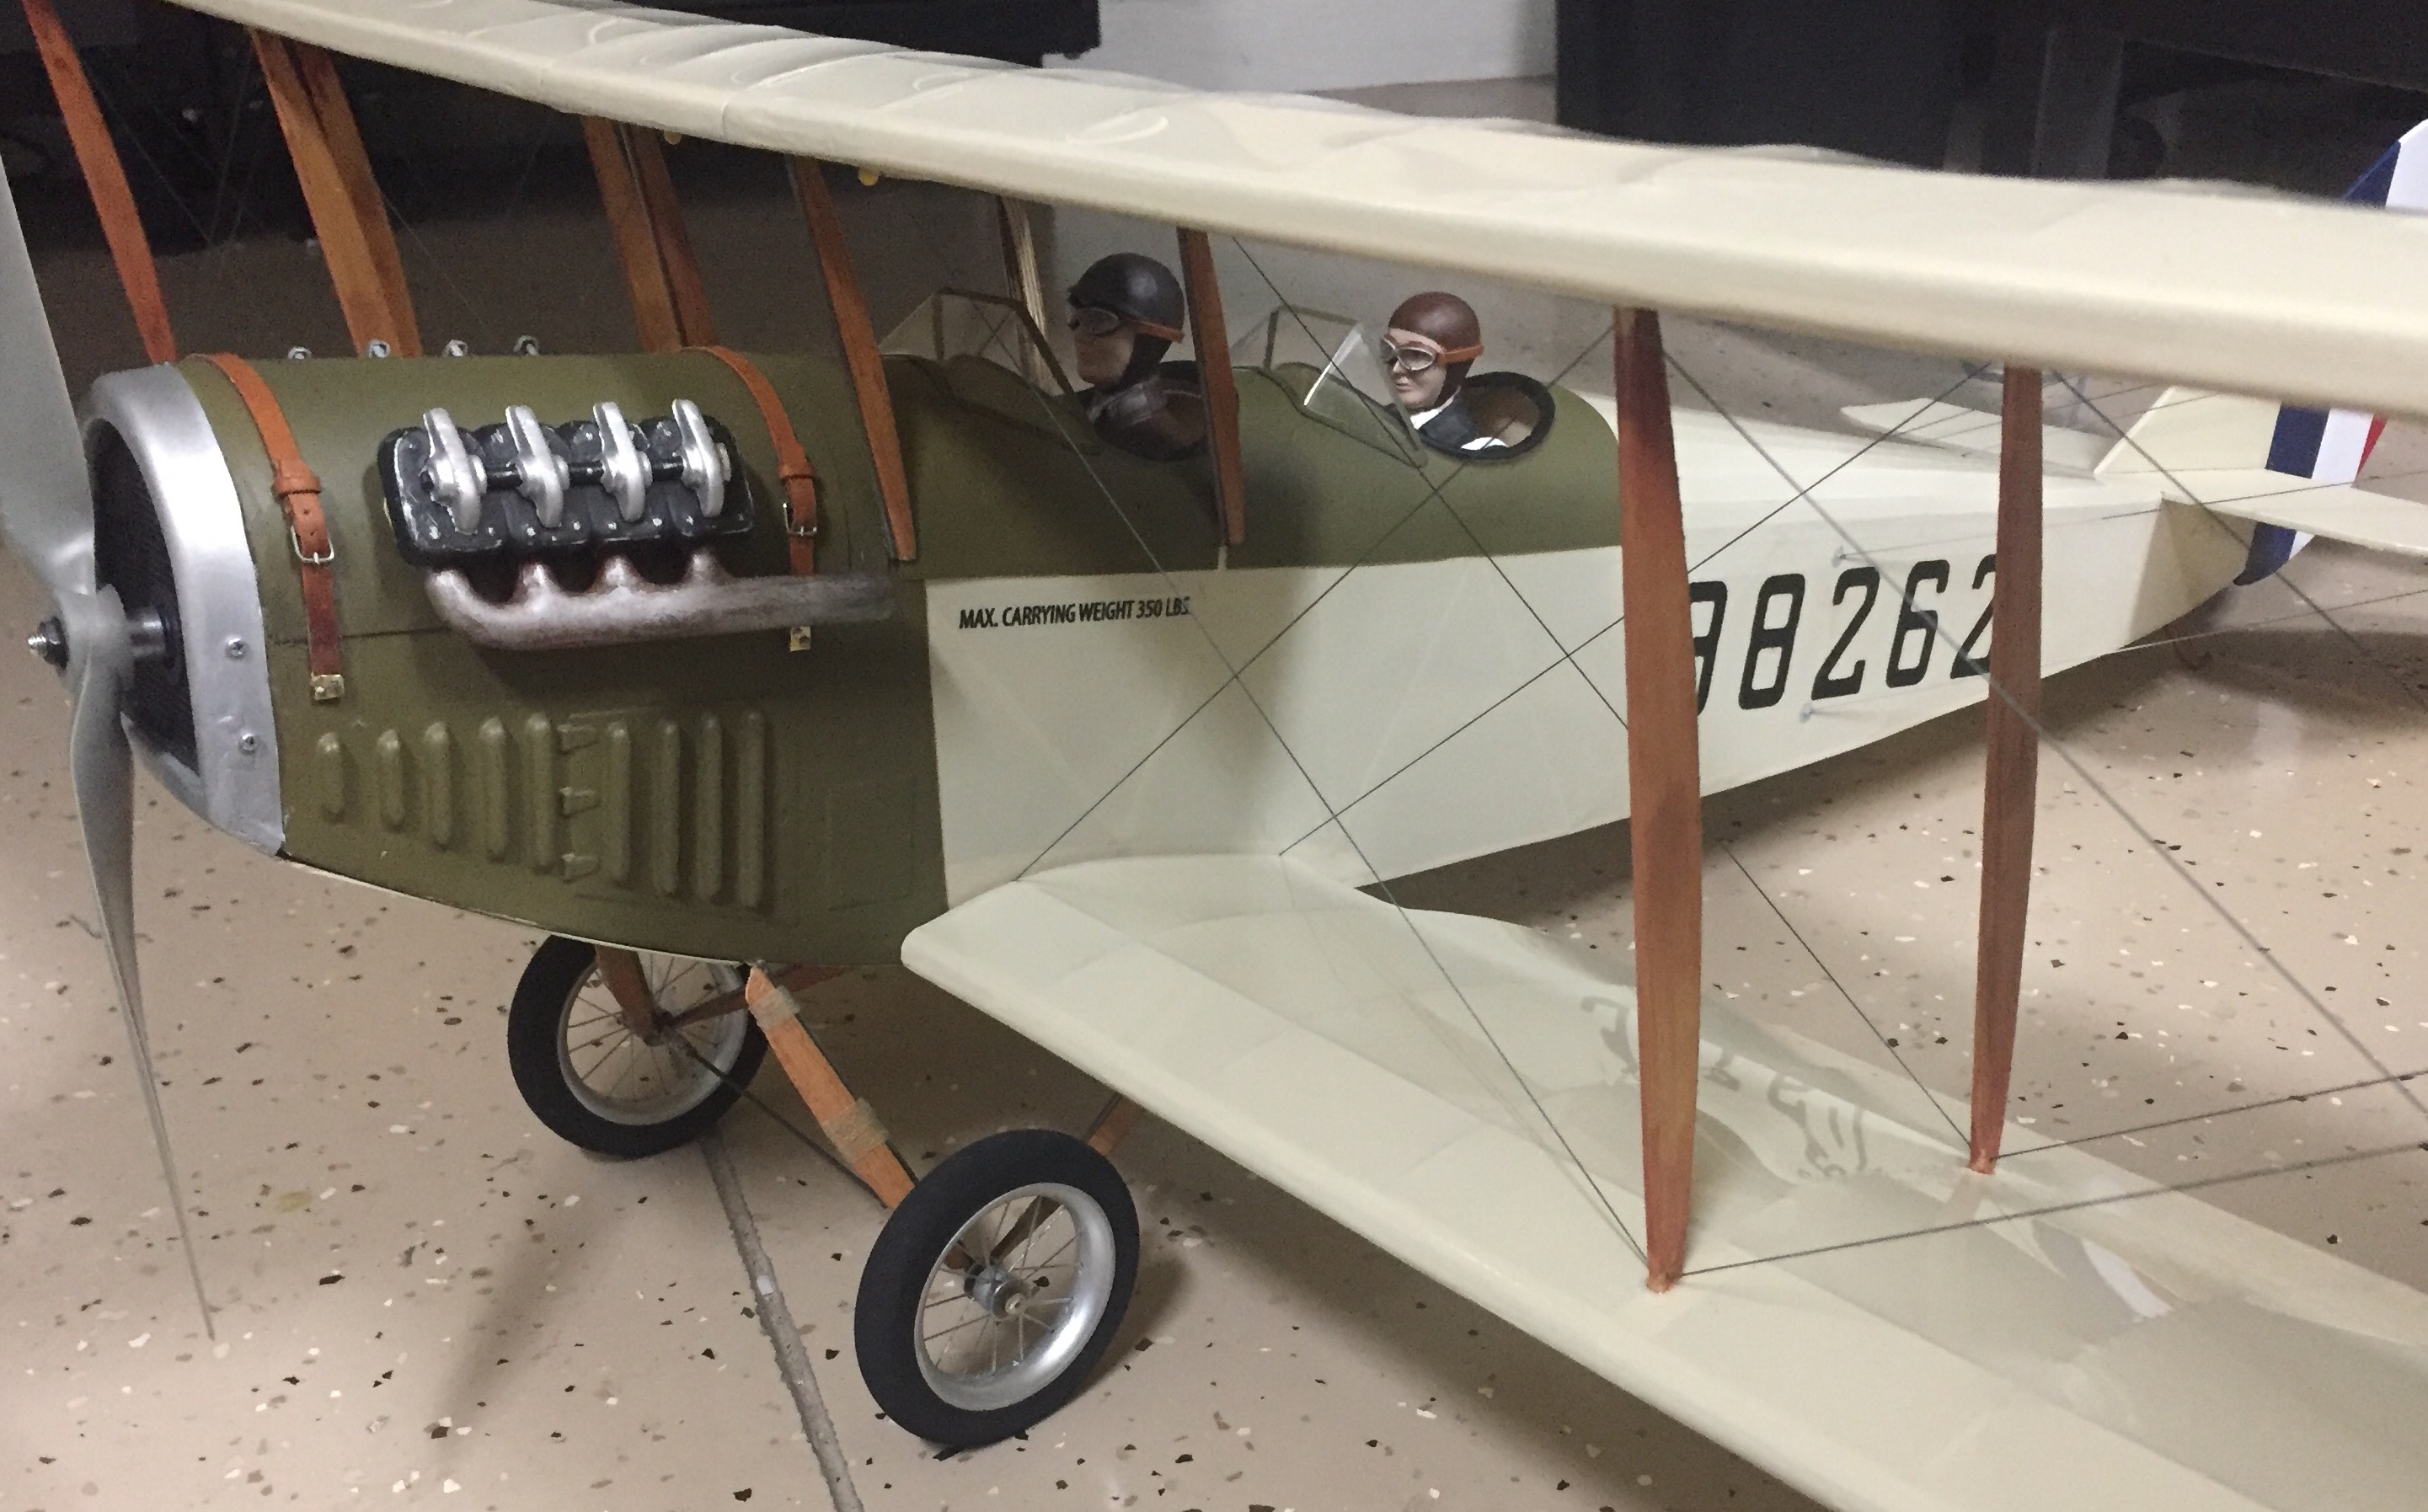
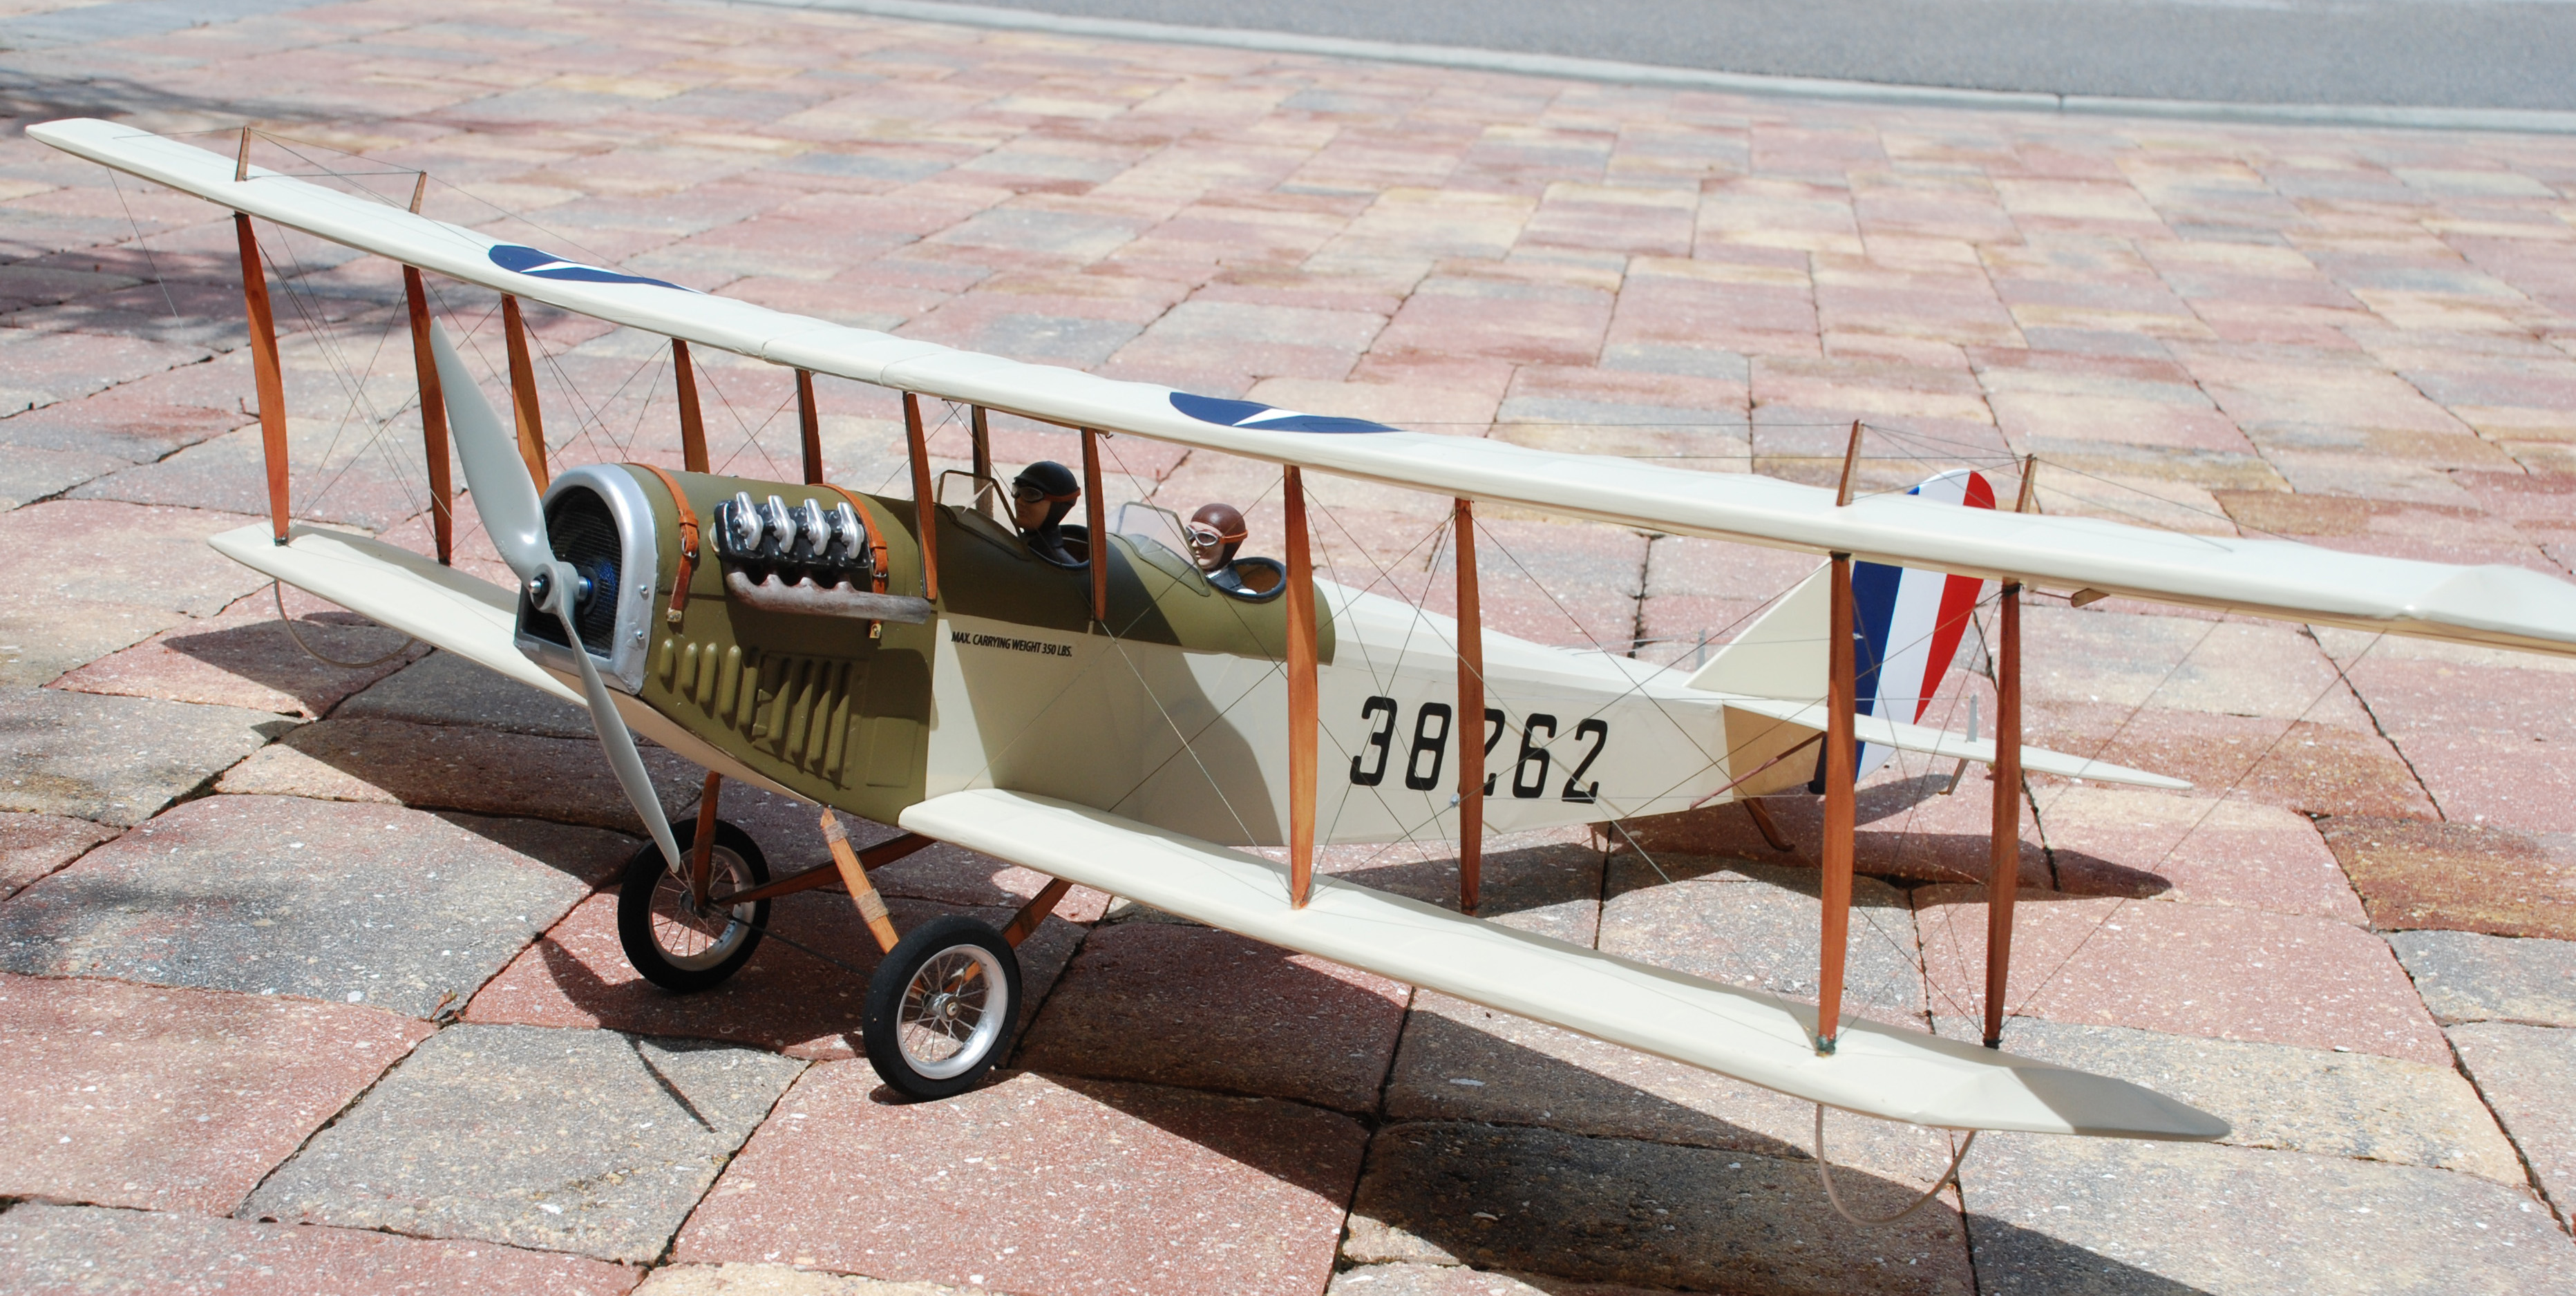
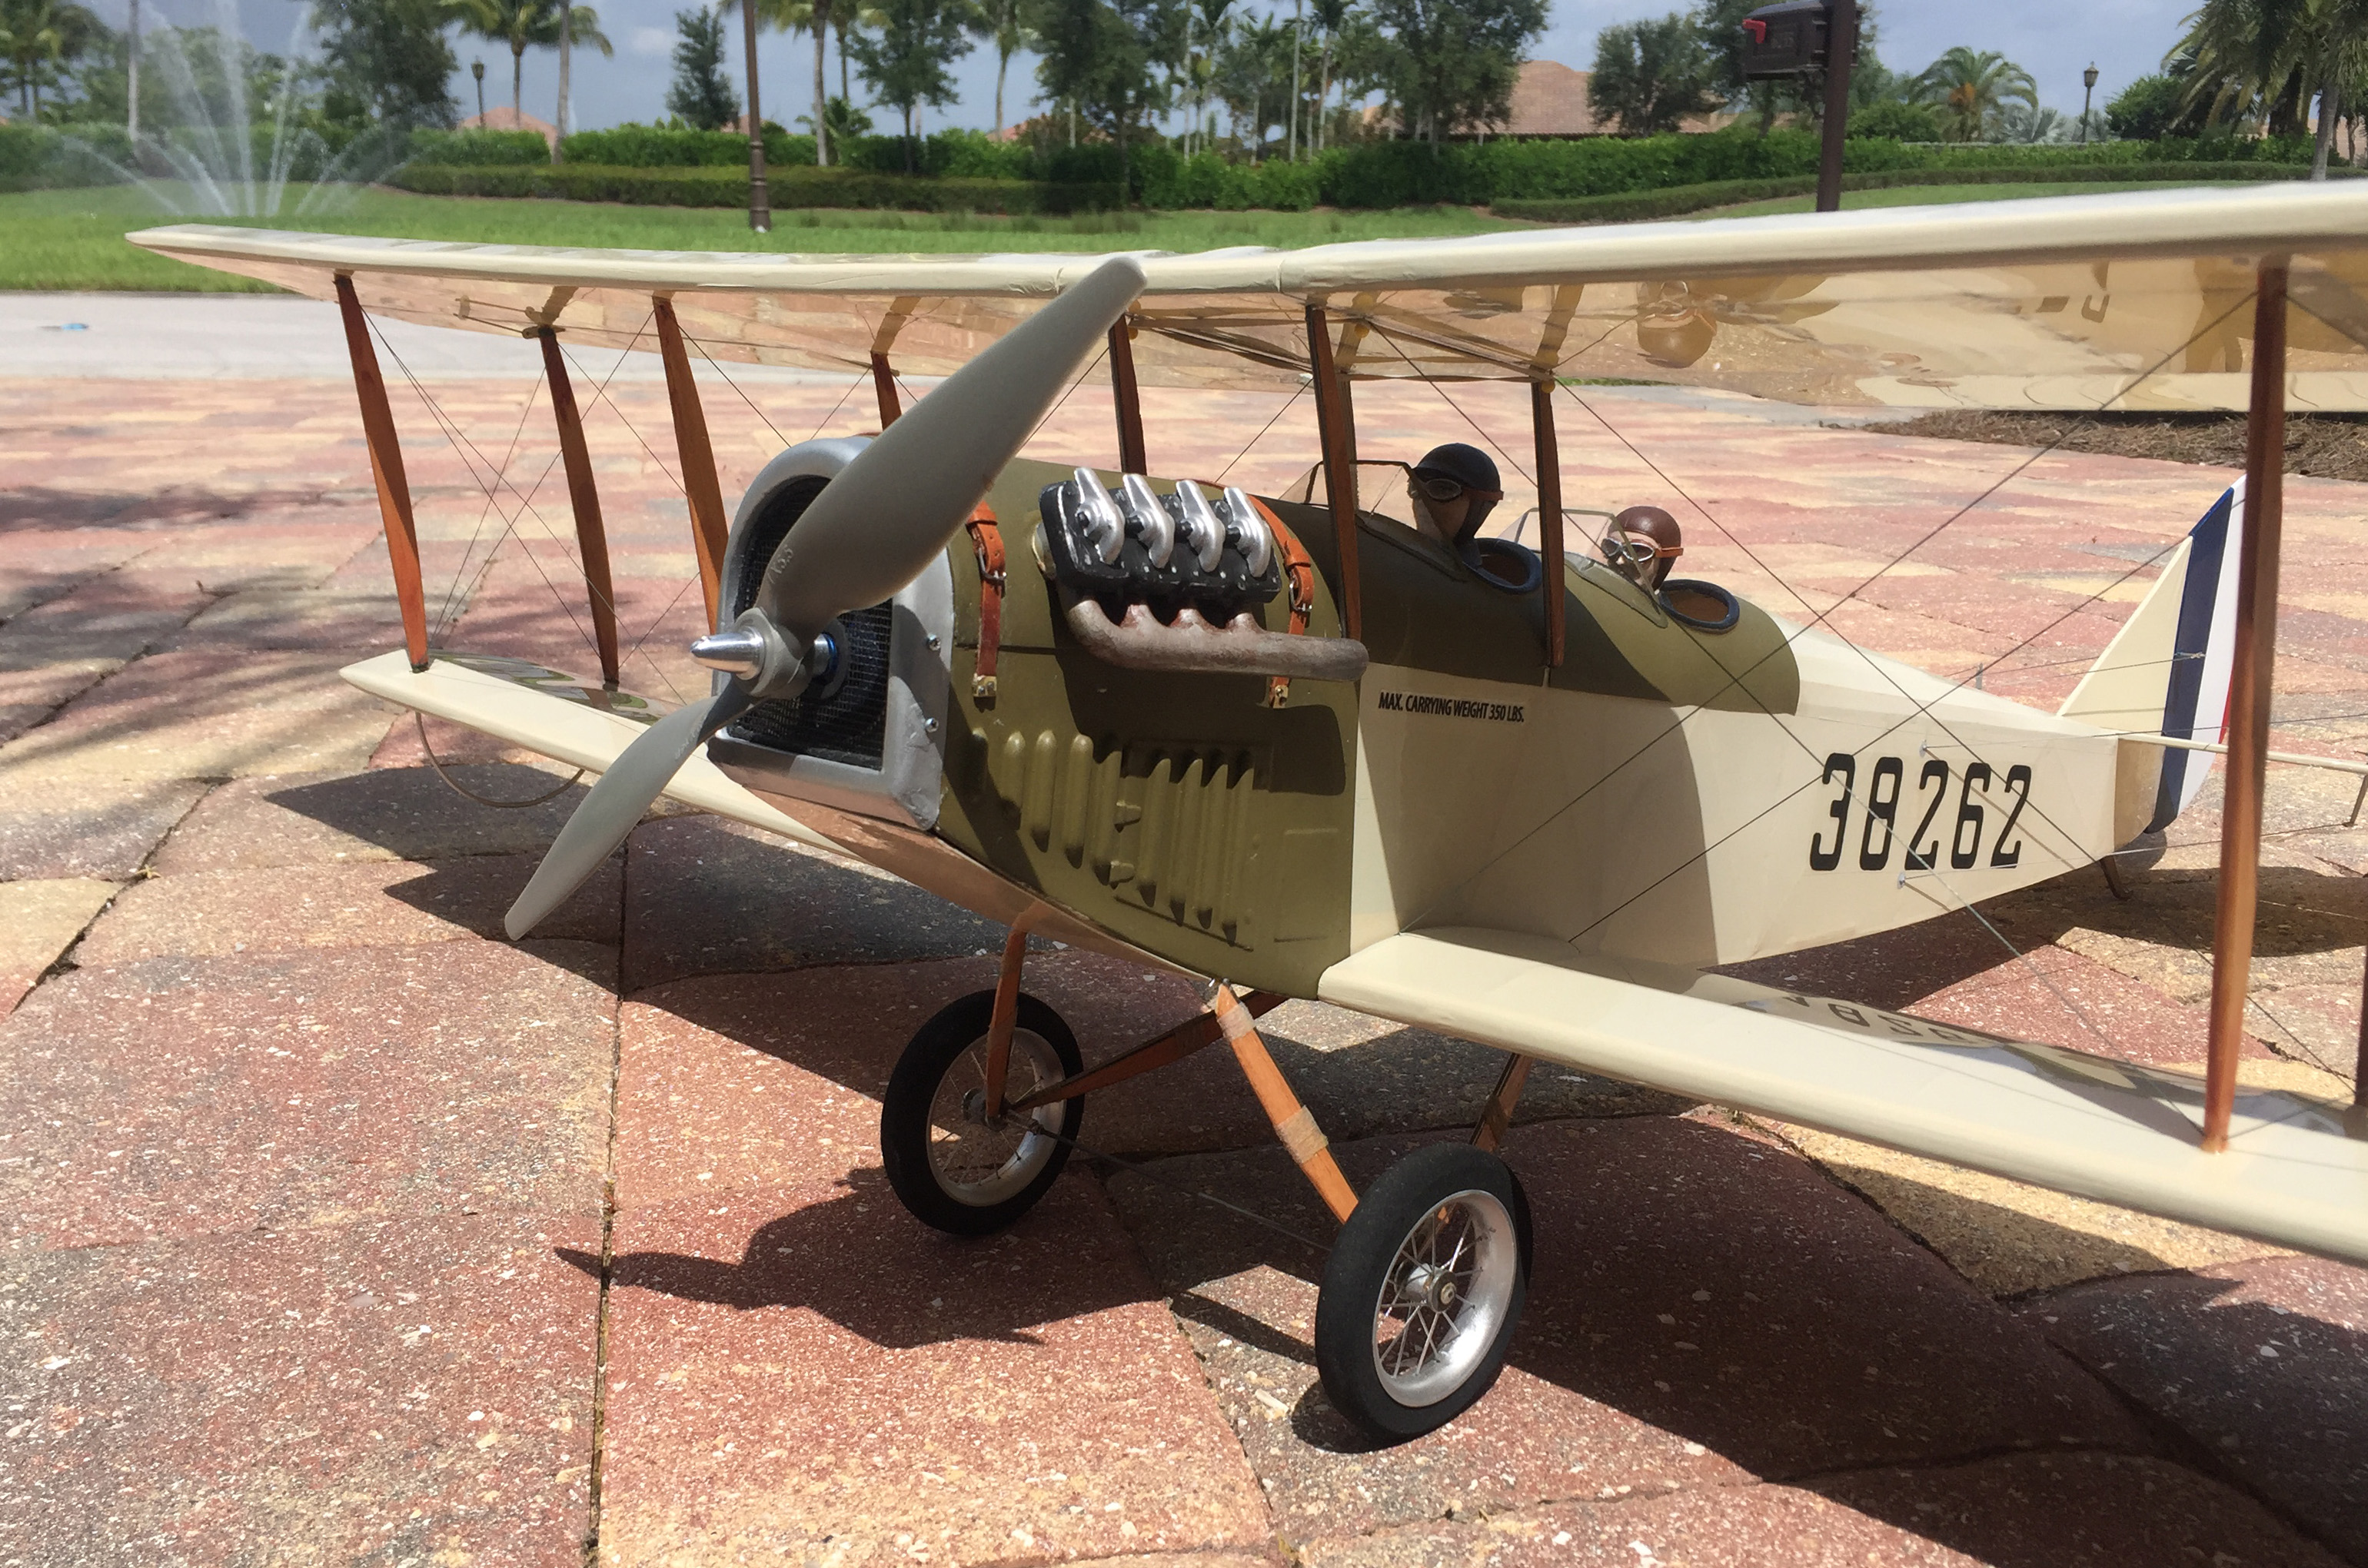
I recently purchased a Curtiss Jenny short kit designed by Pat Tritle. Of course a scale Jenny requires spoked wheels, but there were none to be found for purchase. I gathered ideas from others faced with this problem and came up with an easy solution resulting in strong, true turning wheels weighing only 10 grams each.
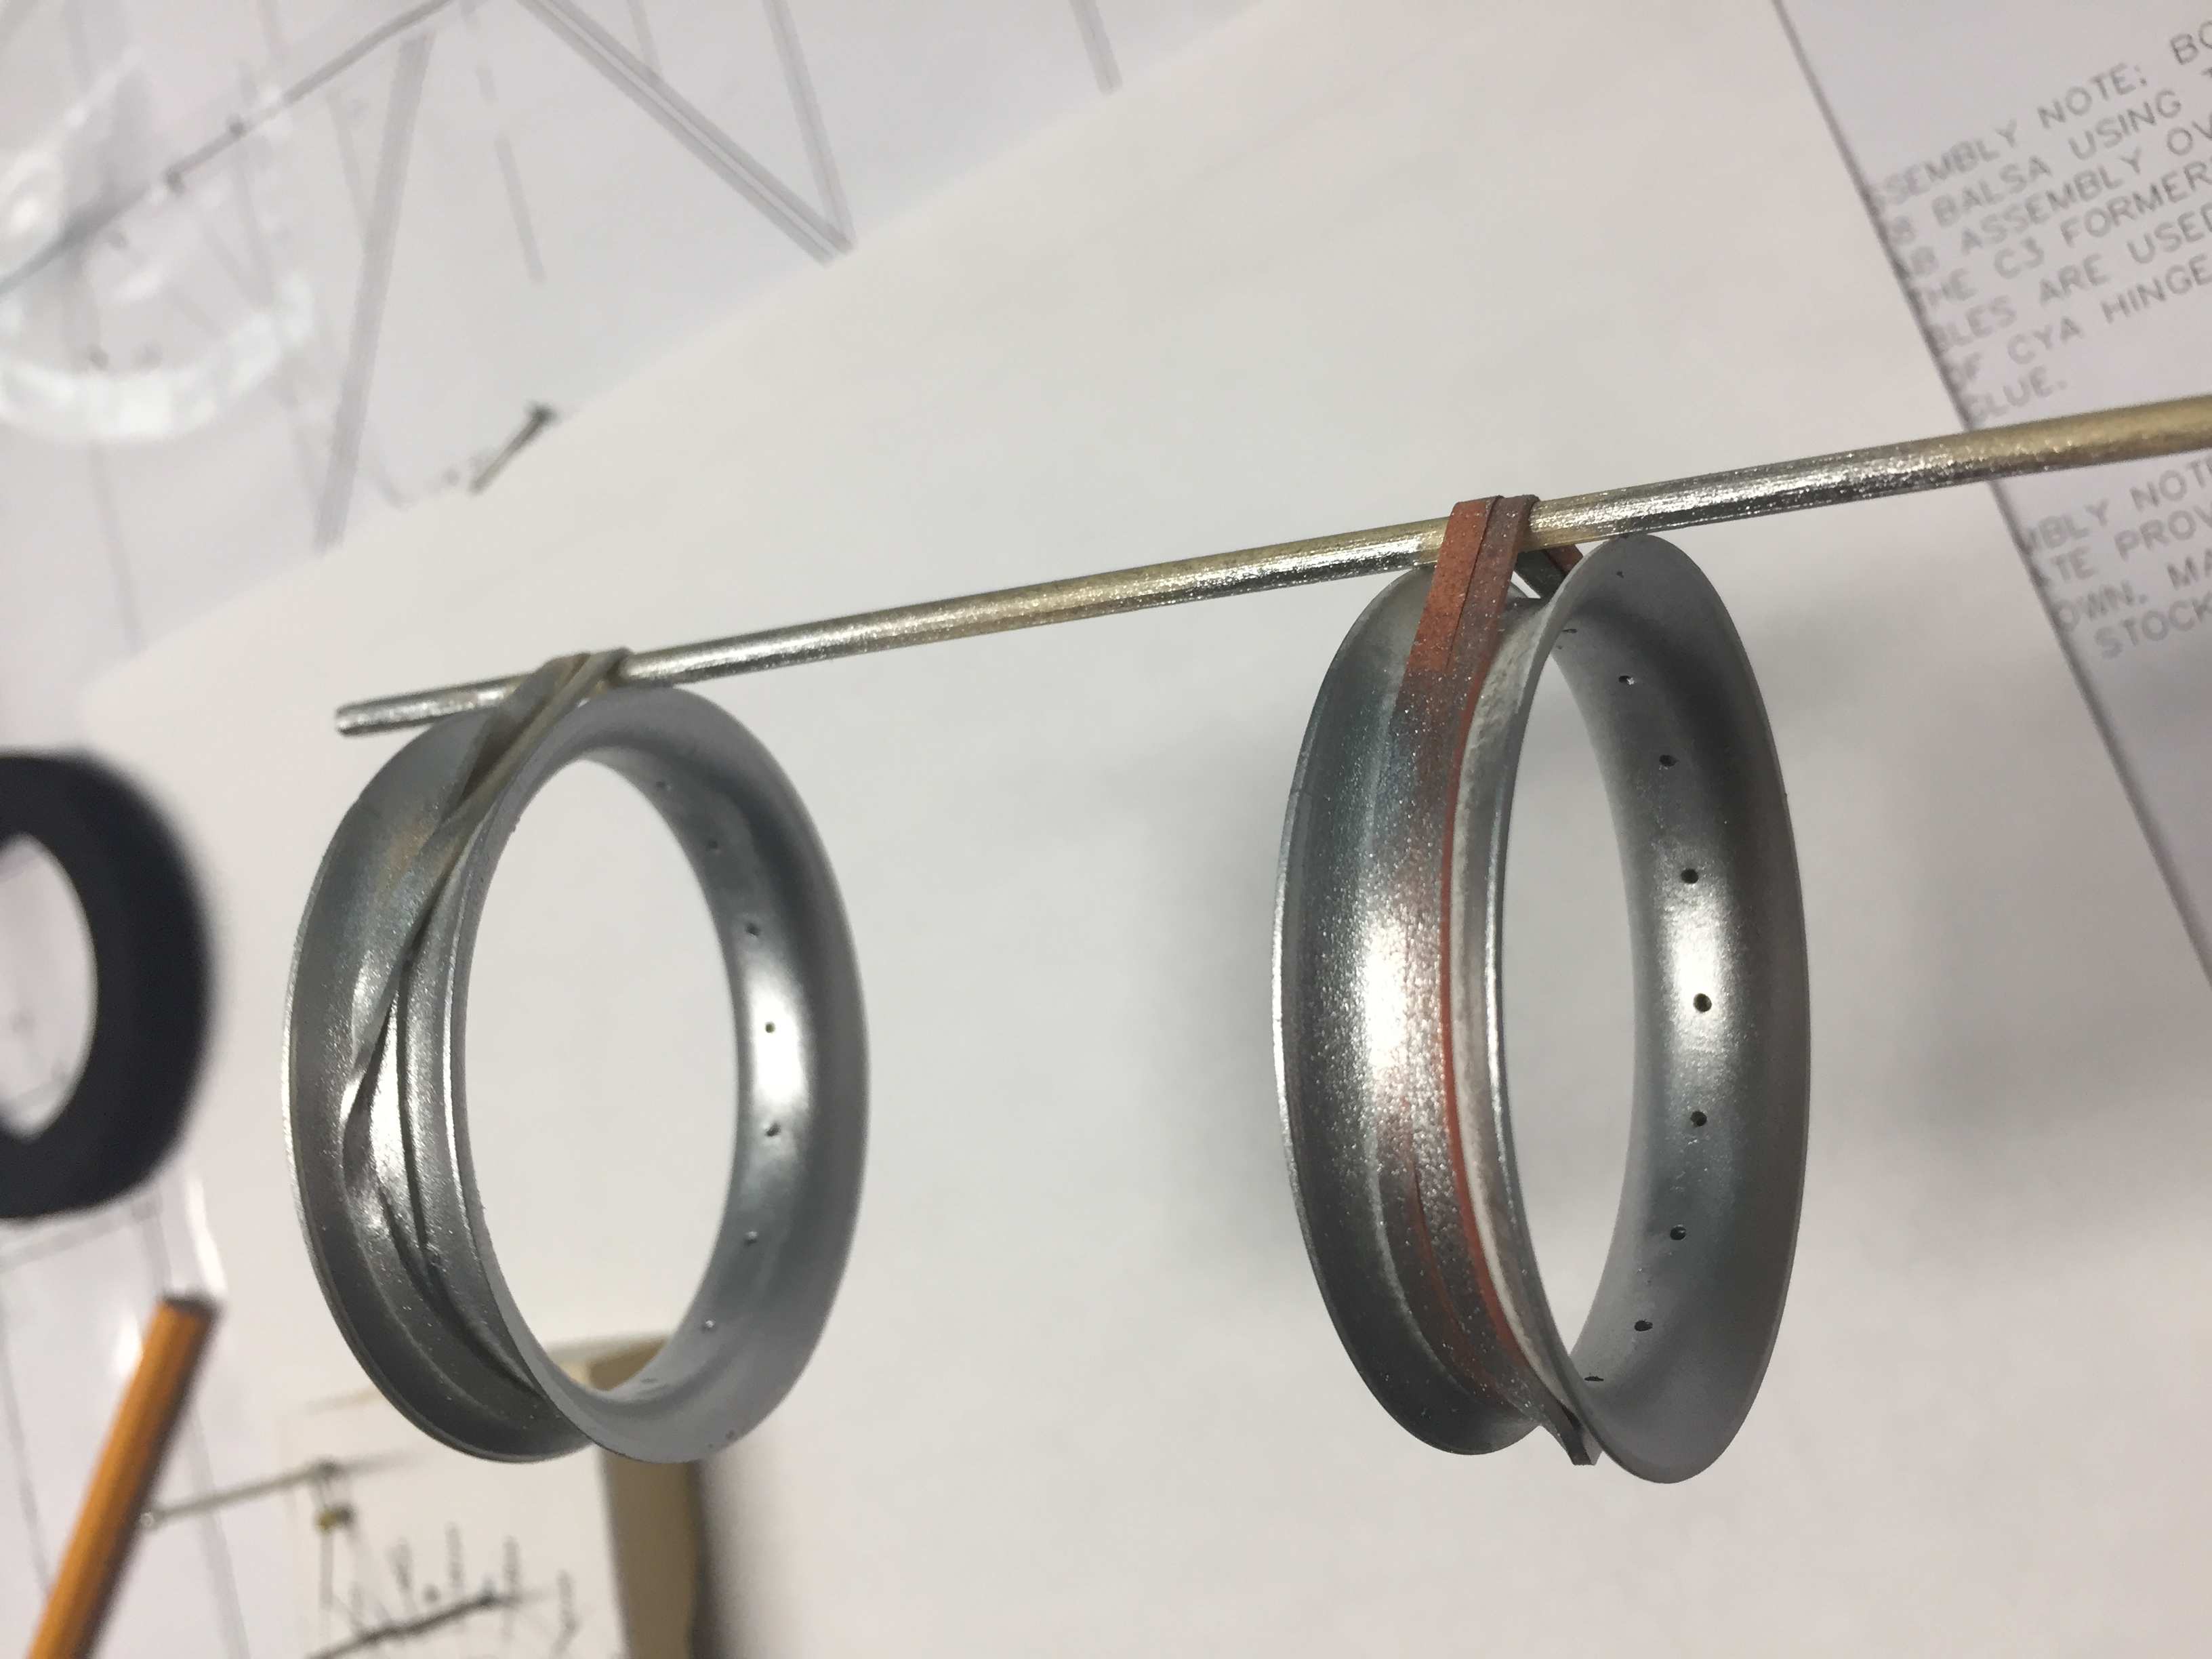
Cut out the middle of 3″ Dubro Micro Sport wheels. Use a Dremel to clean up anything that remains from the cut off part.
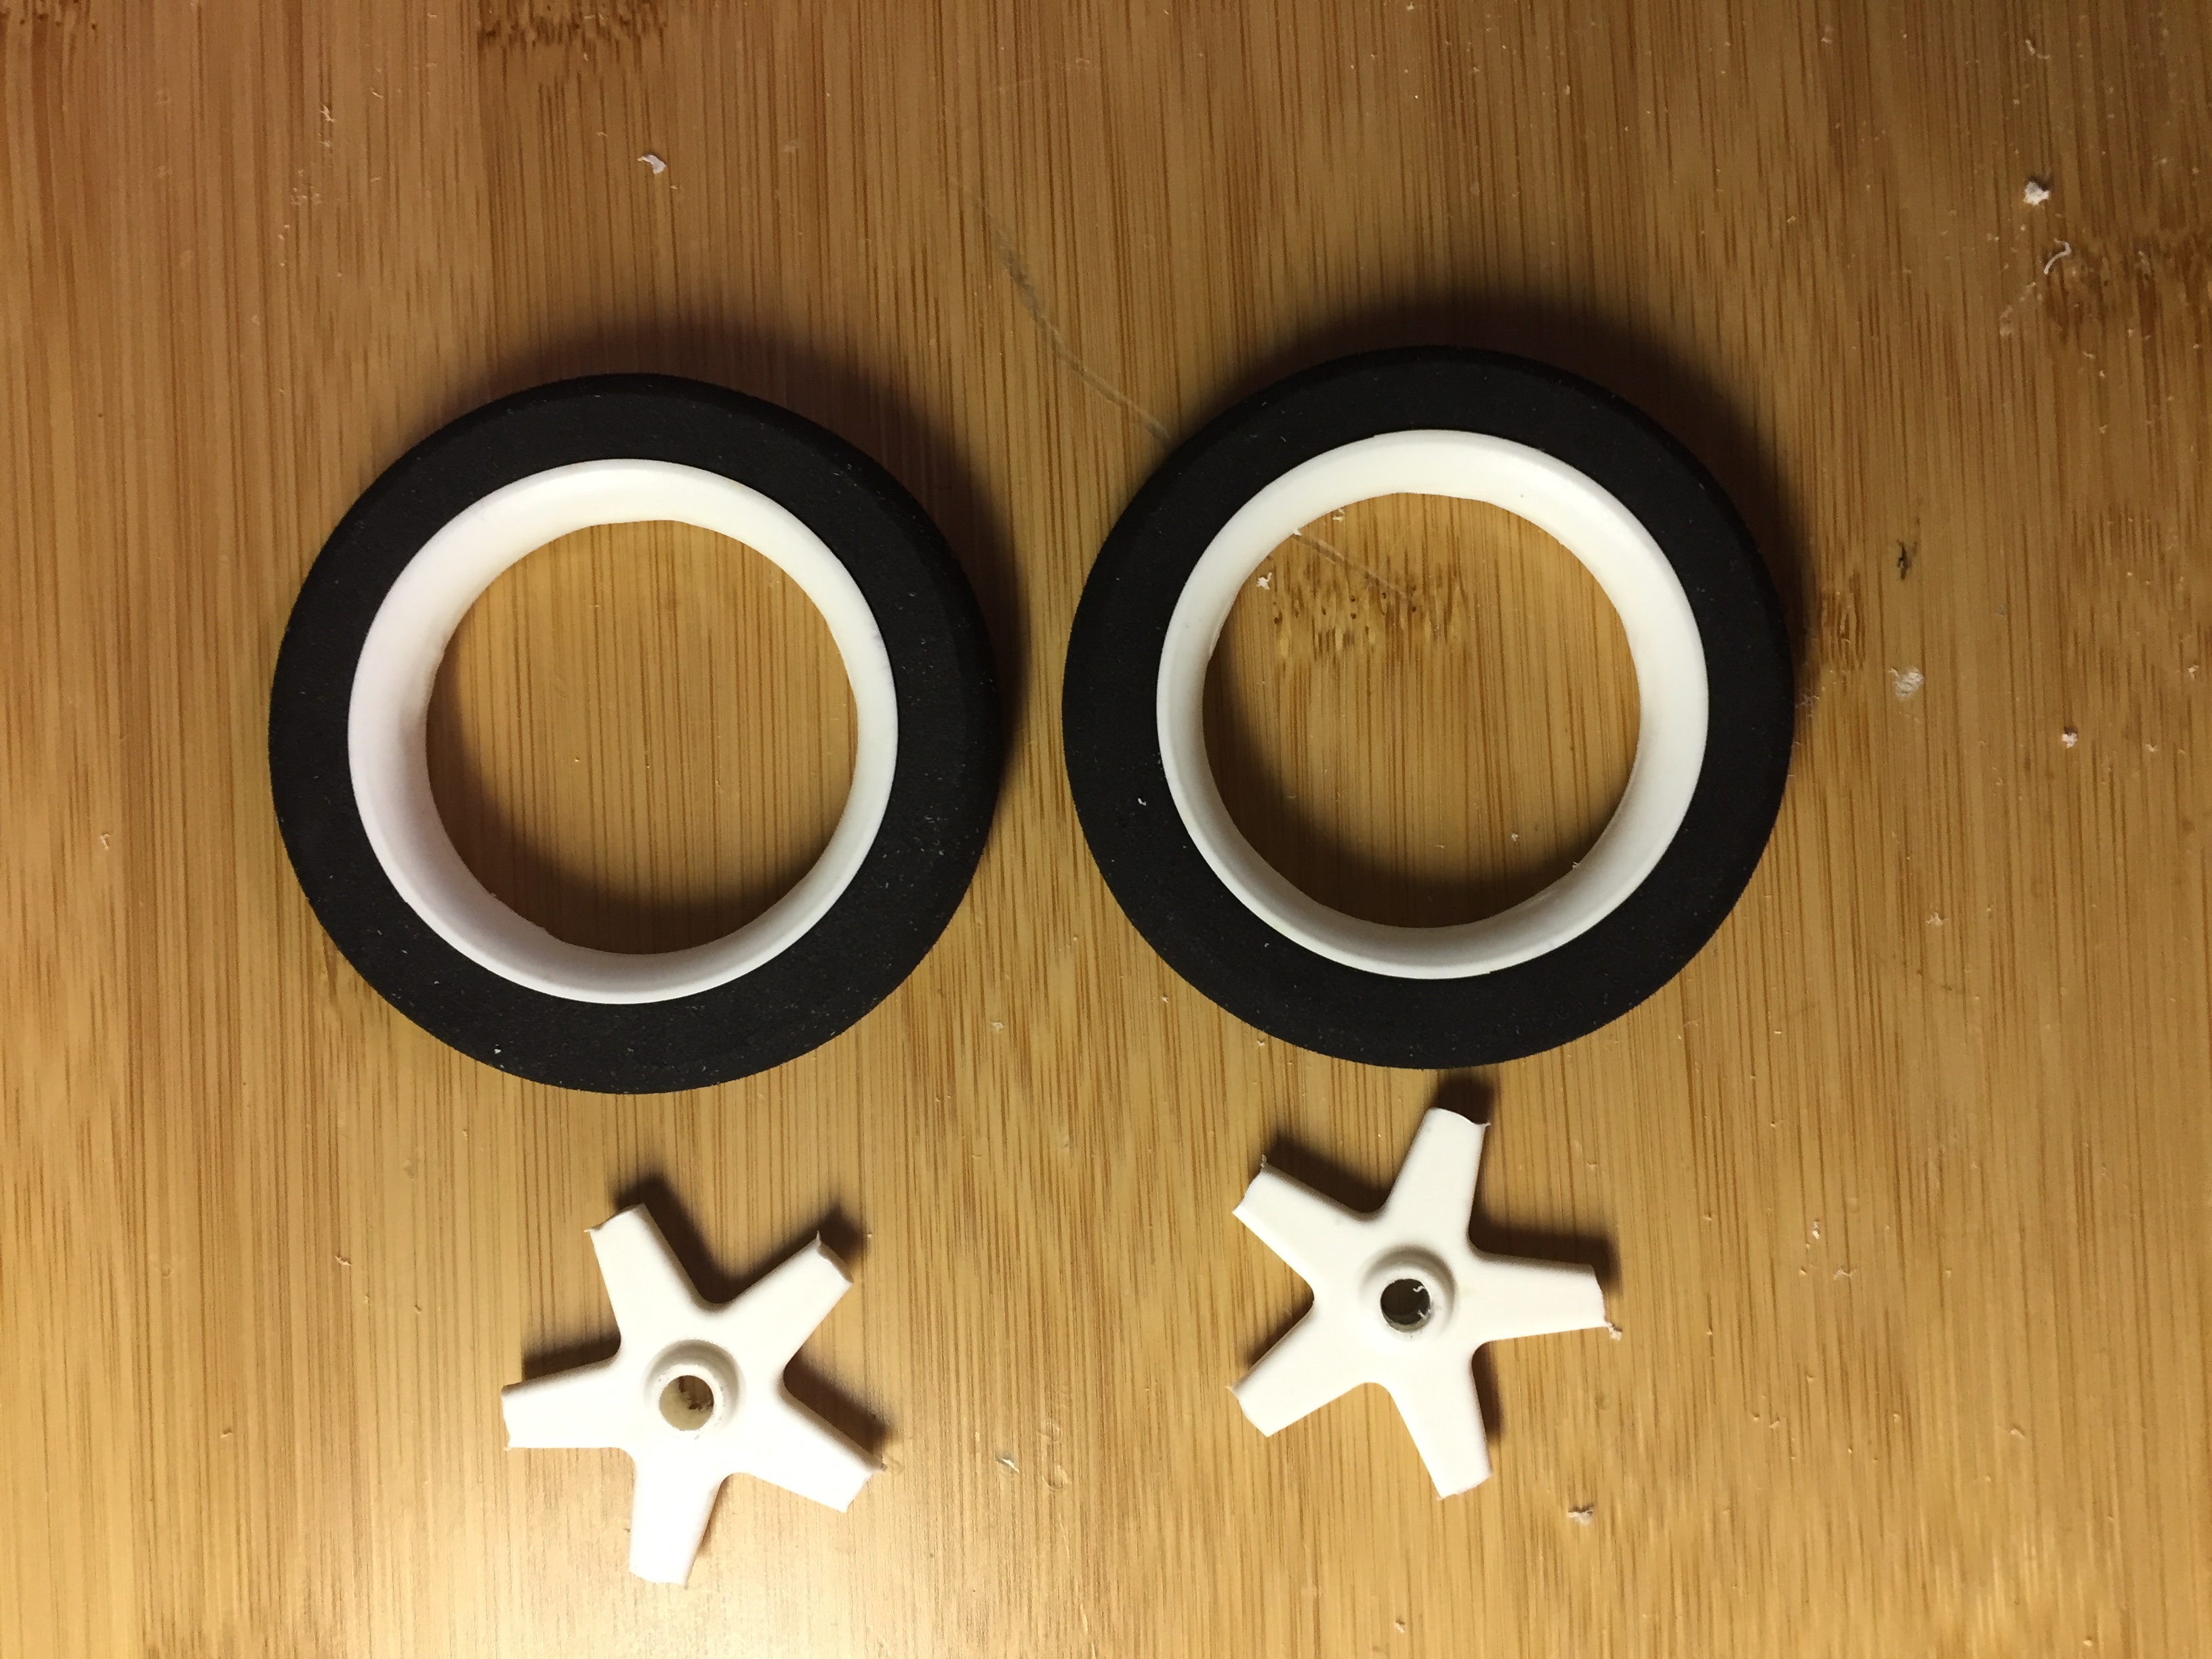
Cut a piece of brass tubing the width of the rim. It is important that the hub is as thick as the rim to keep the stringing even.
Solder a washer to each end. You may have to drill out the washer a bit to fit.
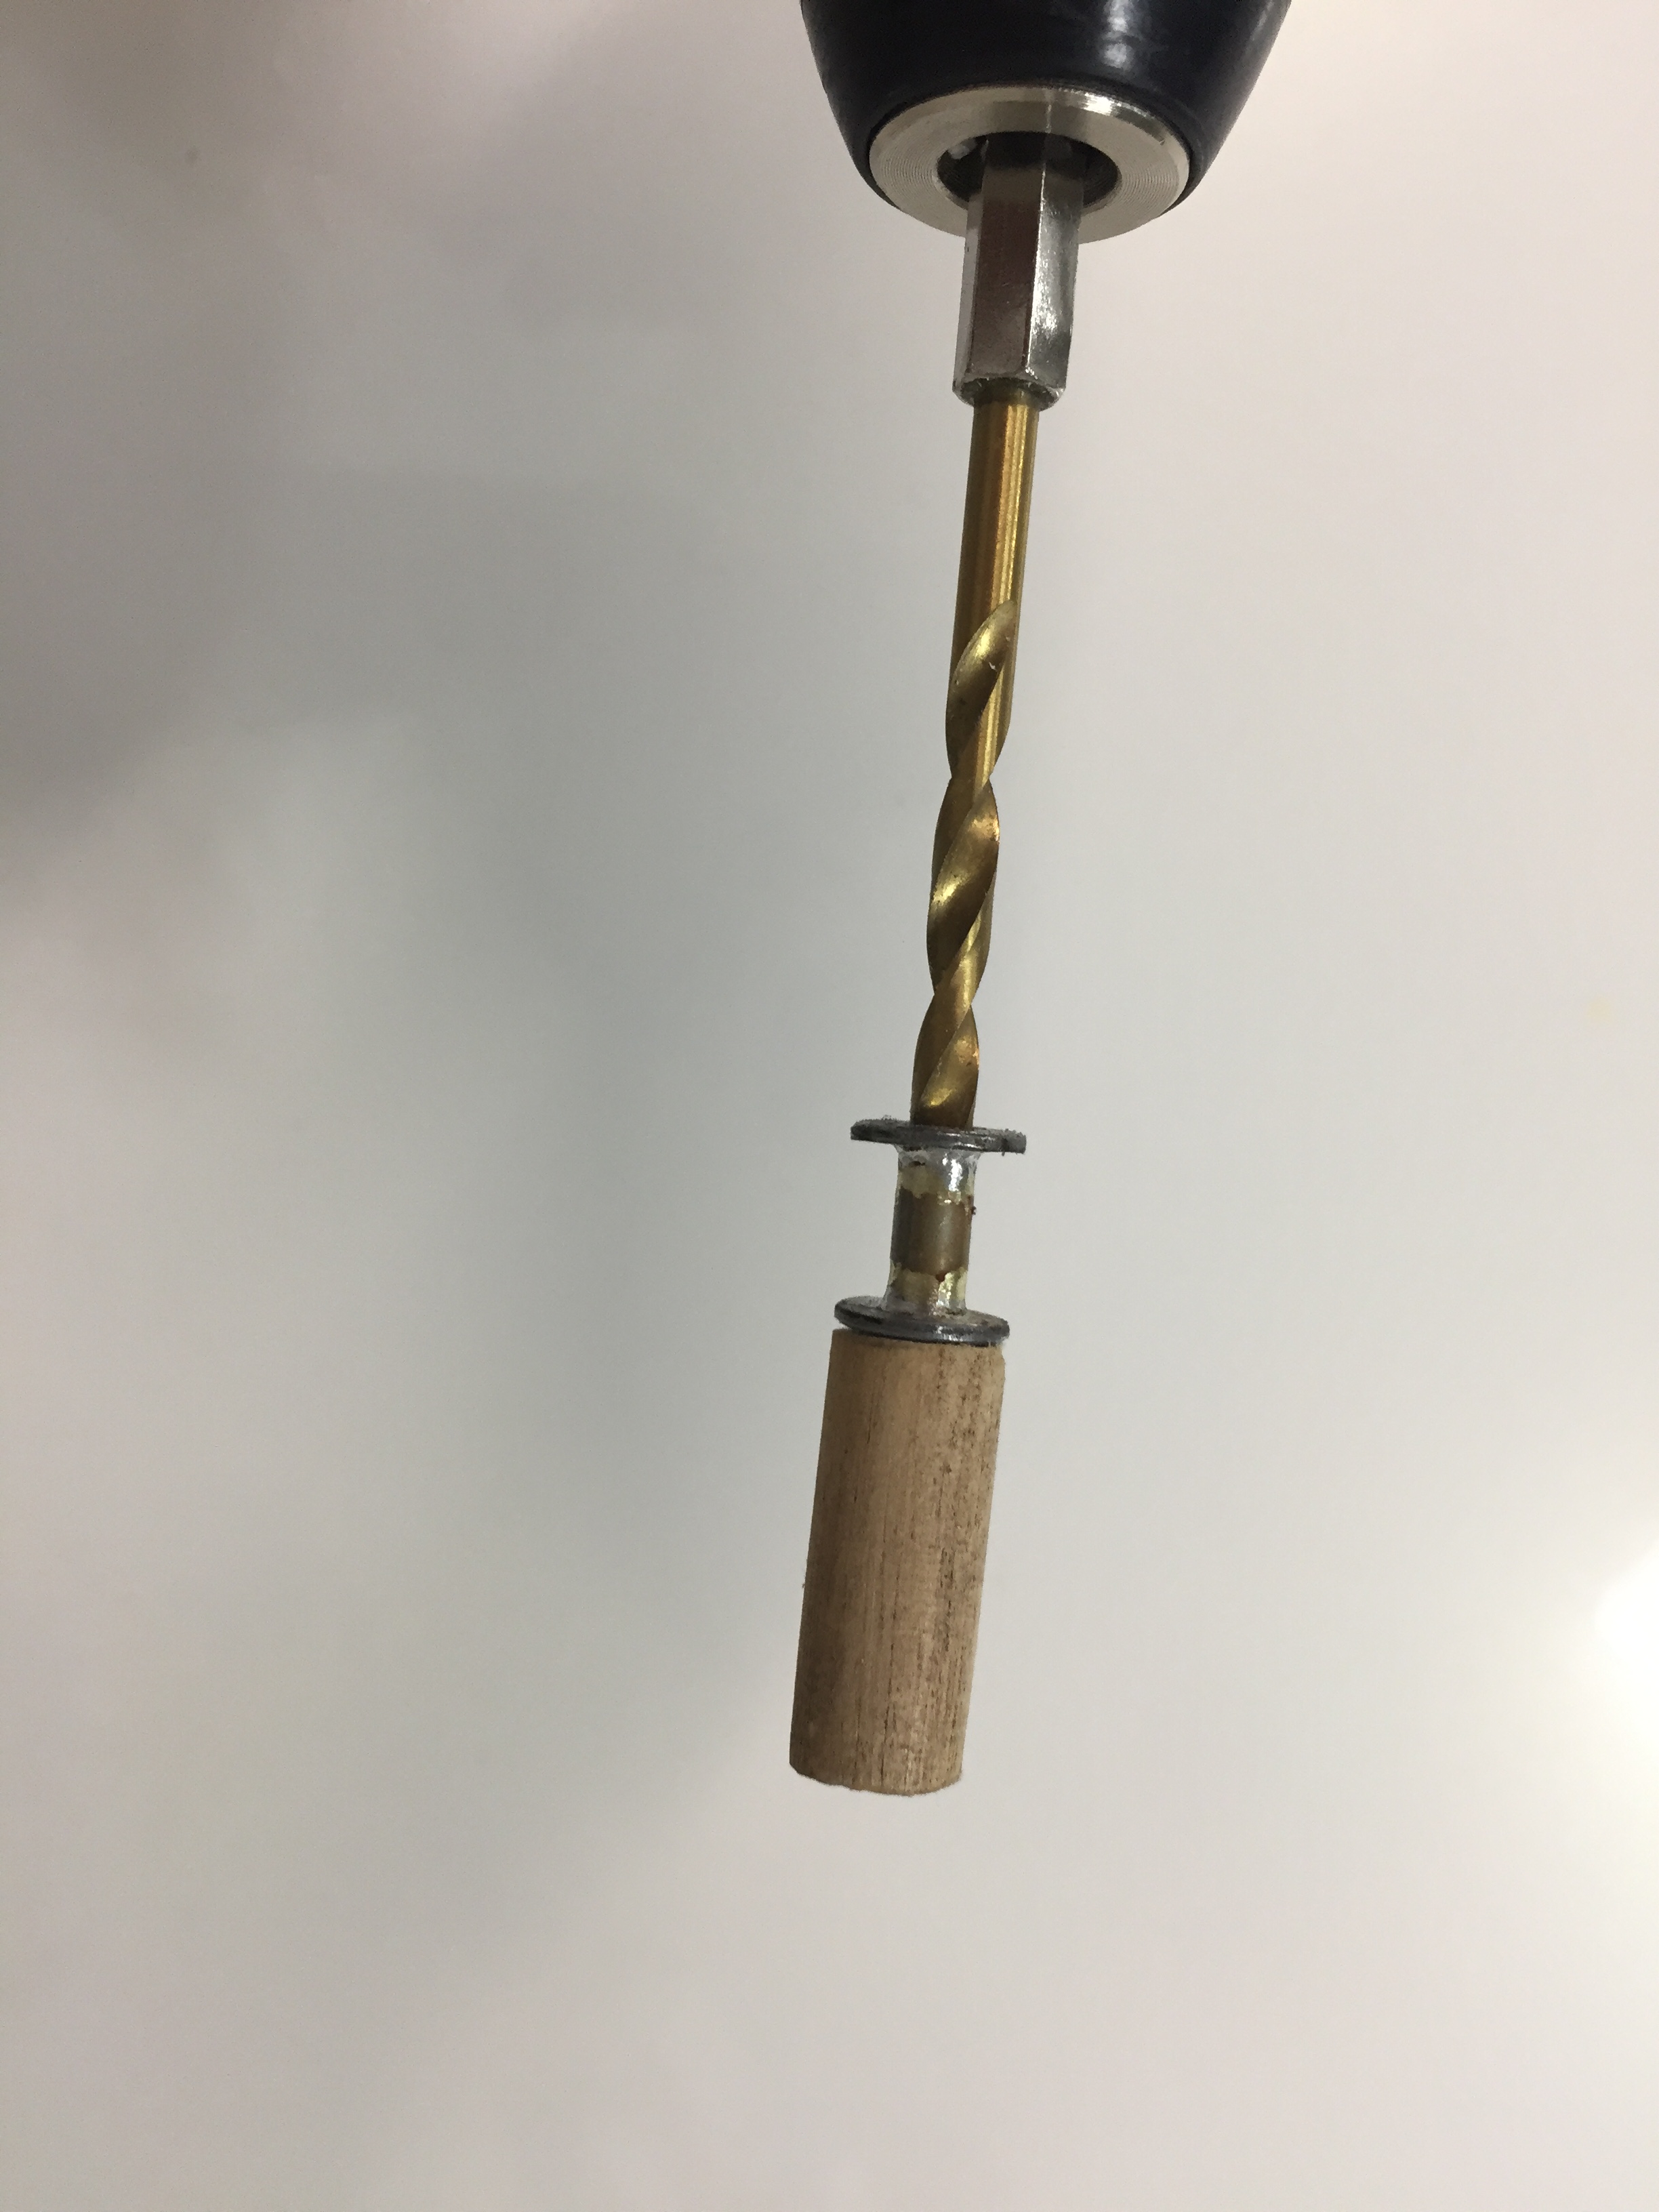
Select a dowel the diameter of the washer.
Place the soldered hub on the end of the dowel and use it as a guide to drill down the center of the dowel. Then enlarge that hole in the dowel to the OD of the brass tubing.
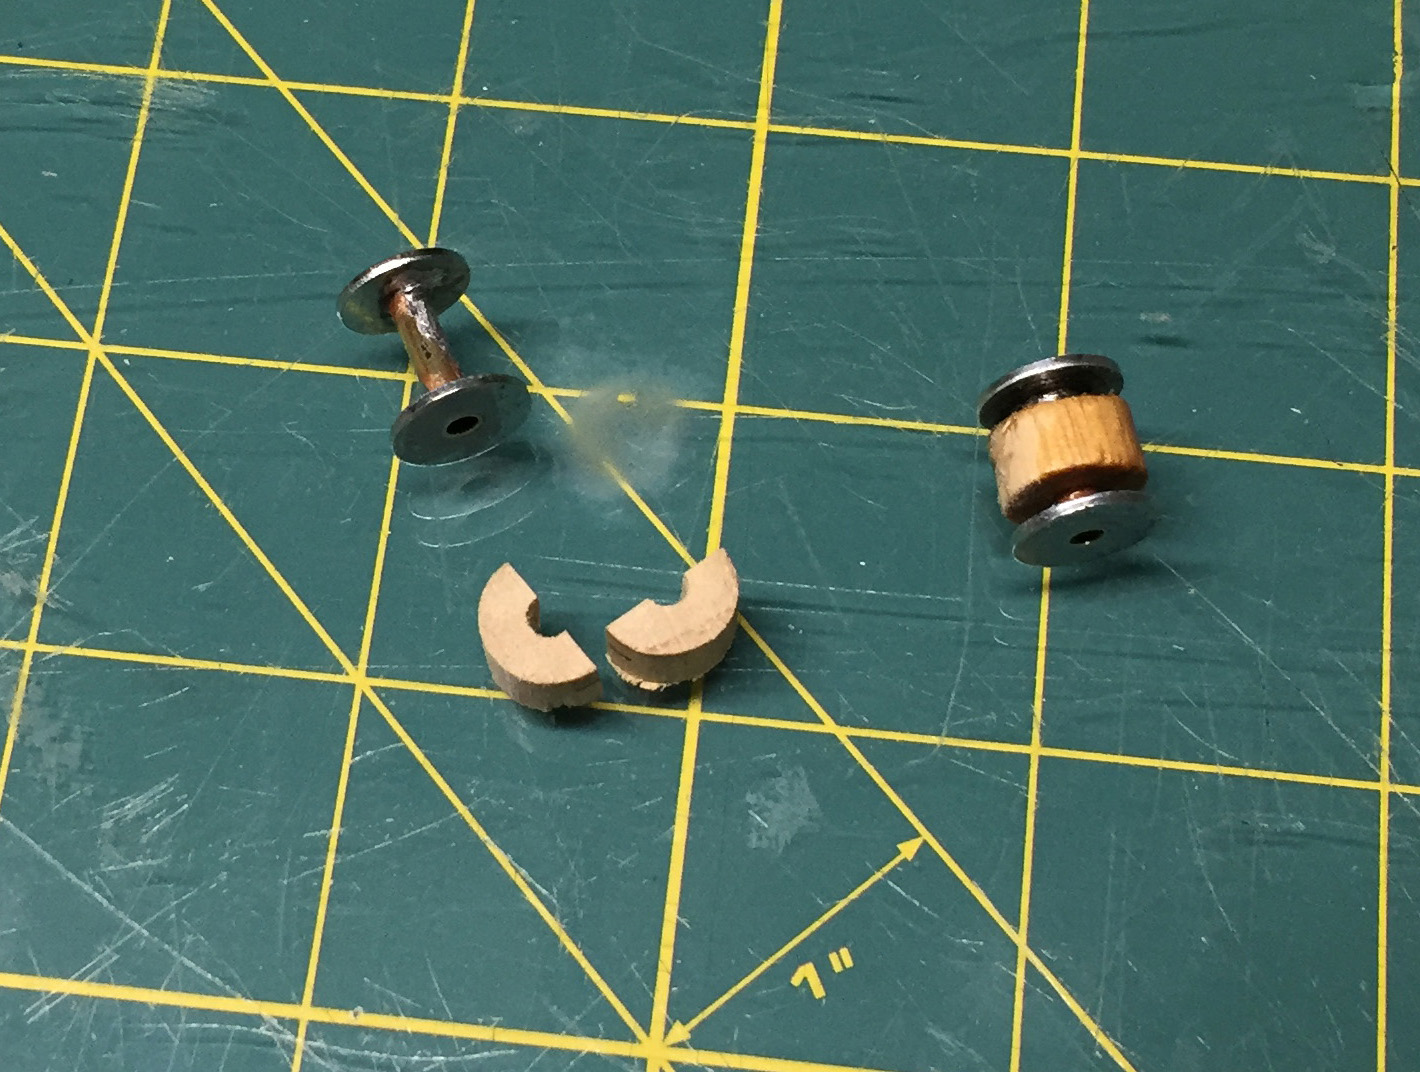
Cut off a section of this dowel approximately half the length of the distance between the washers.
Use an Xacto knife to split this piece of dowel and reassemble and glue it evenly between the washers. It helps to mark where you split it to be sure you are fitting it together properly.
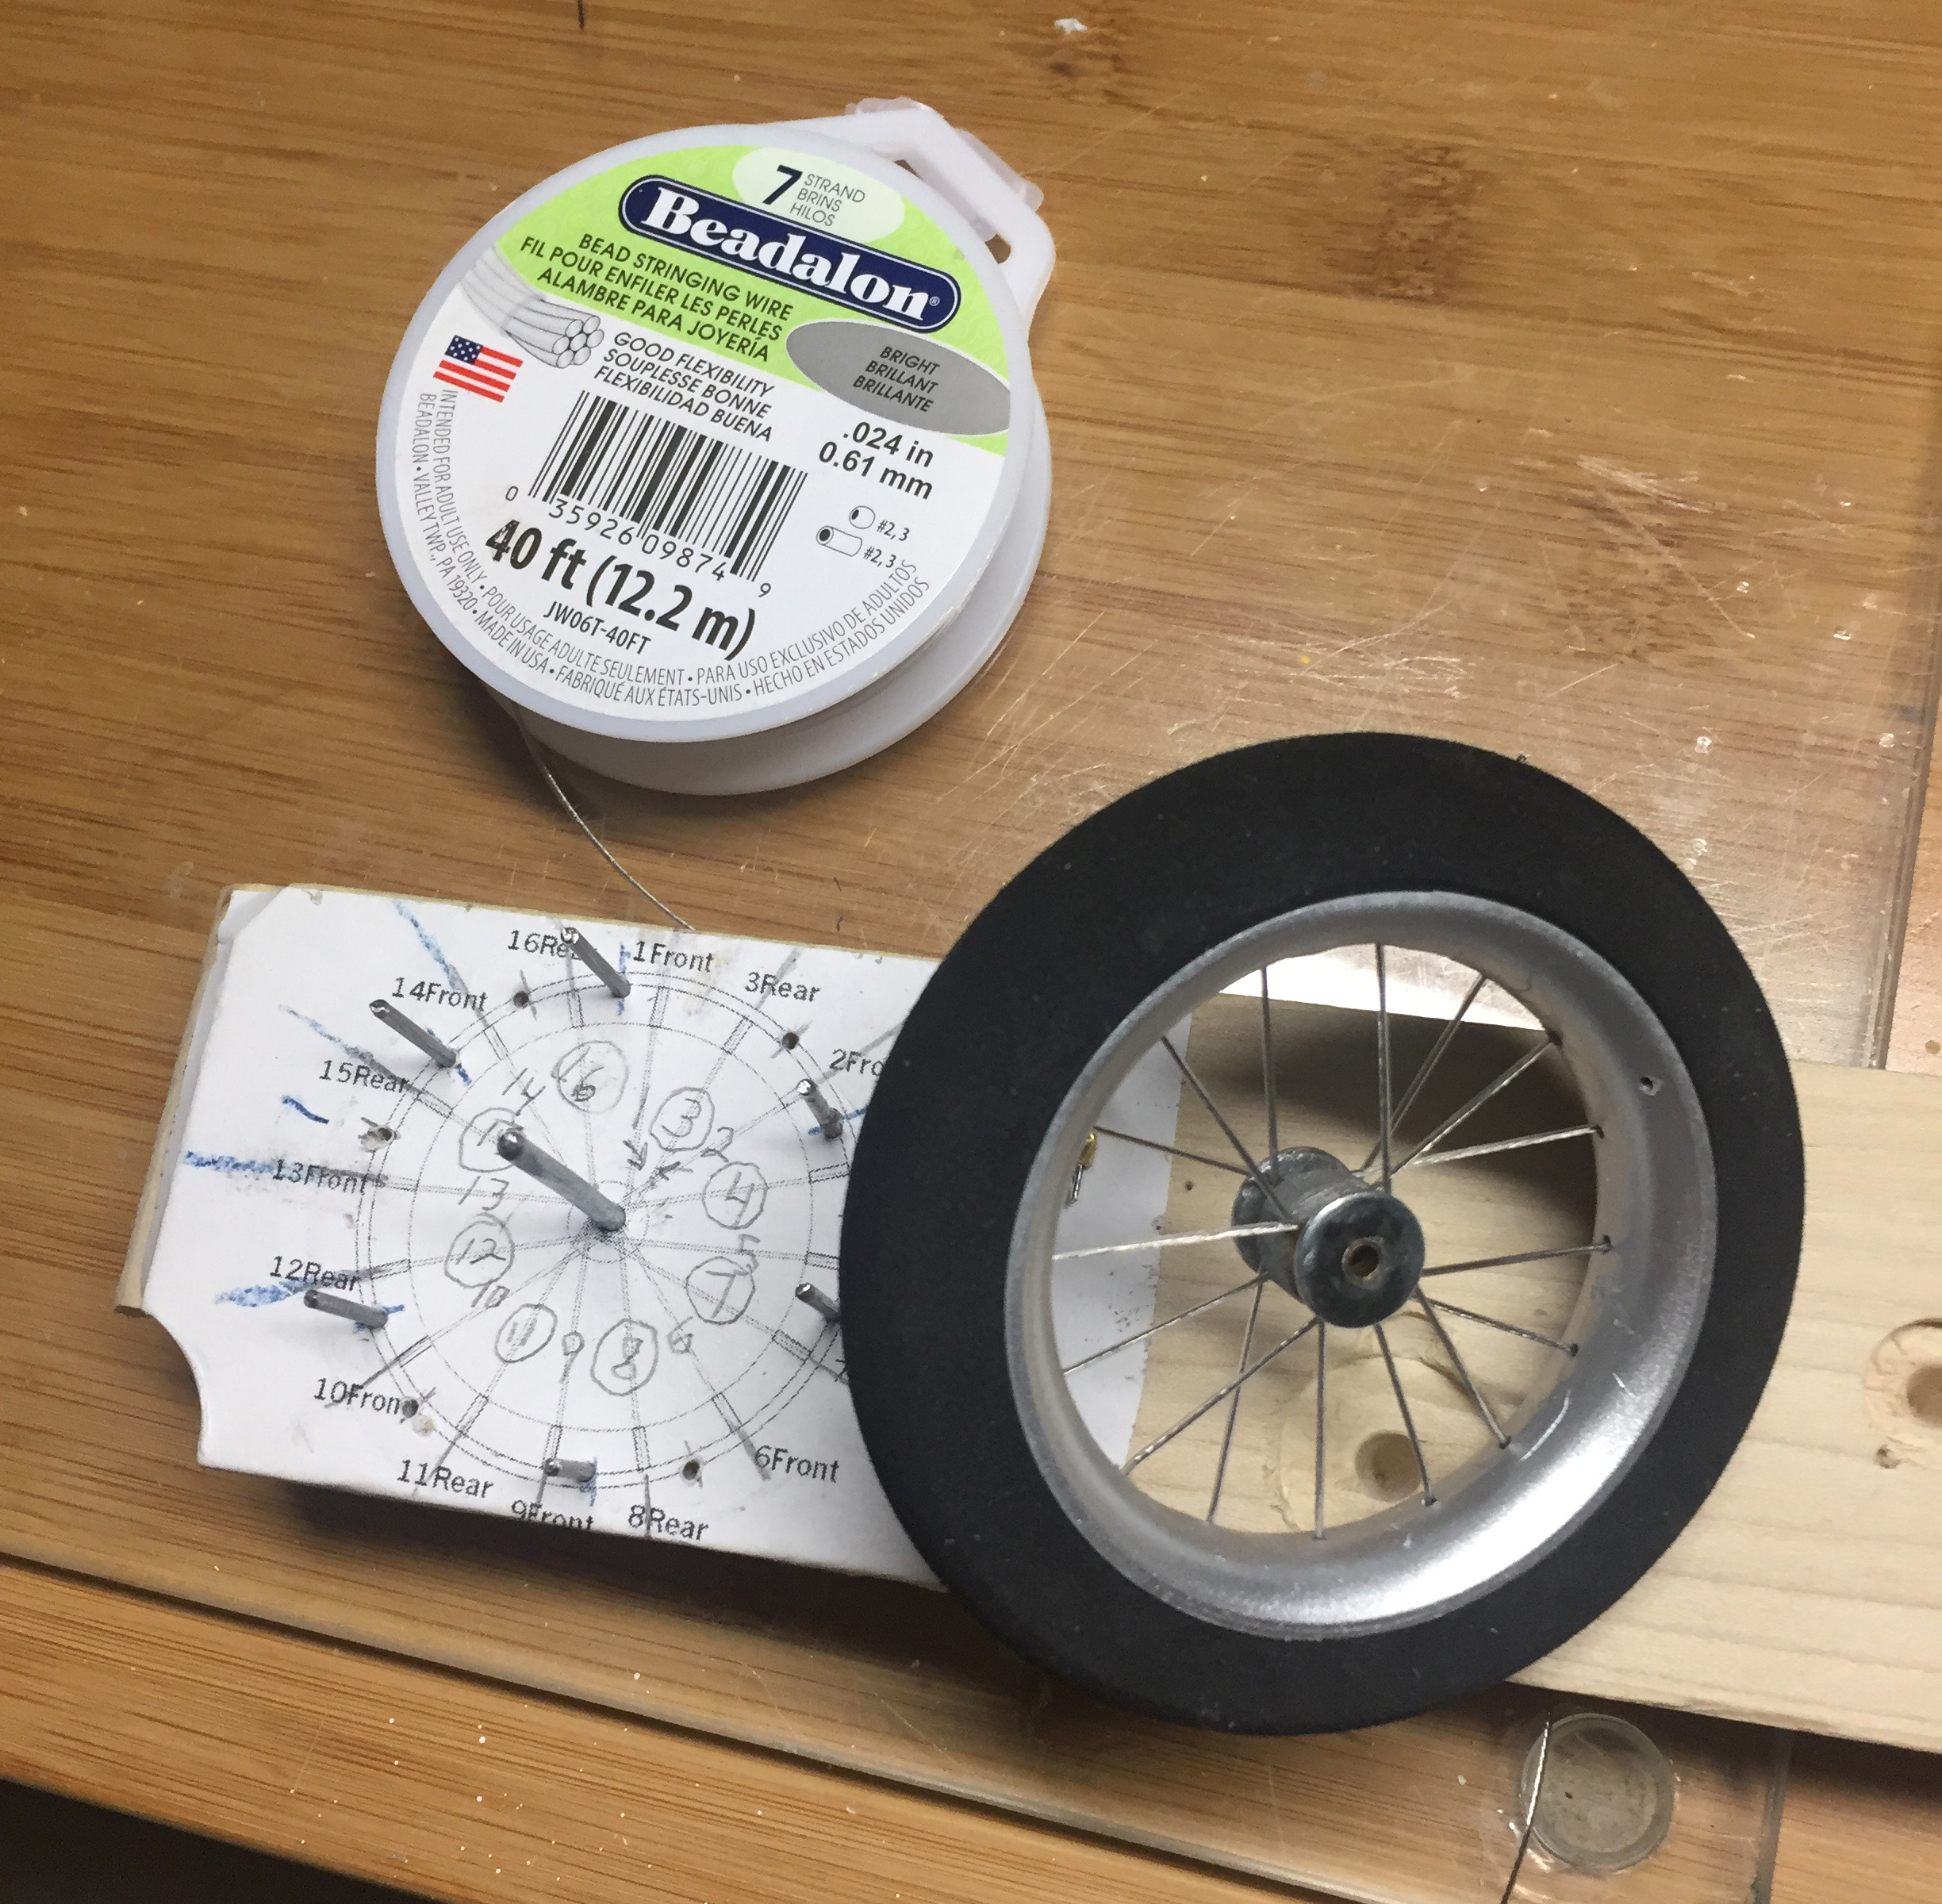
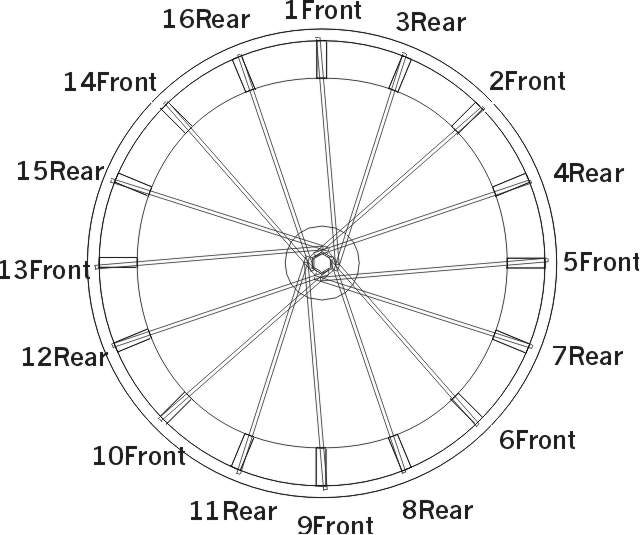
I used a drawing that I found online here or here.

Printing it out at 250% was just the right size with my printer.
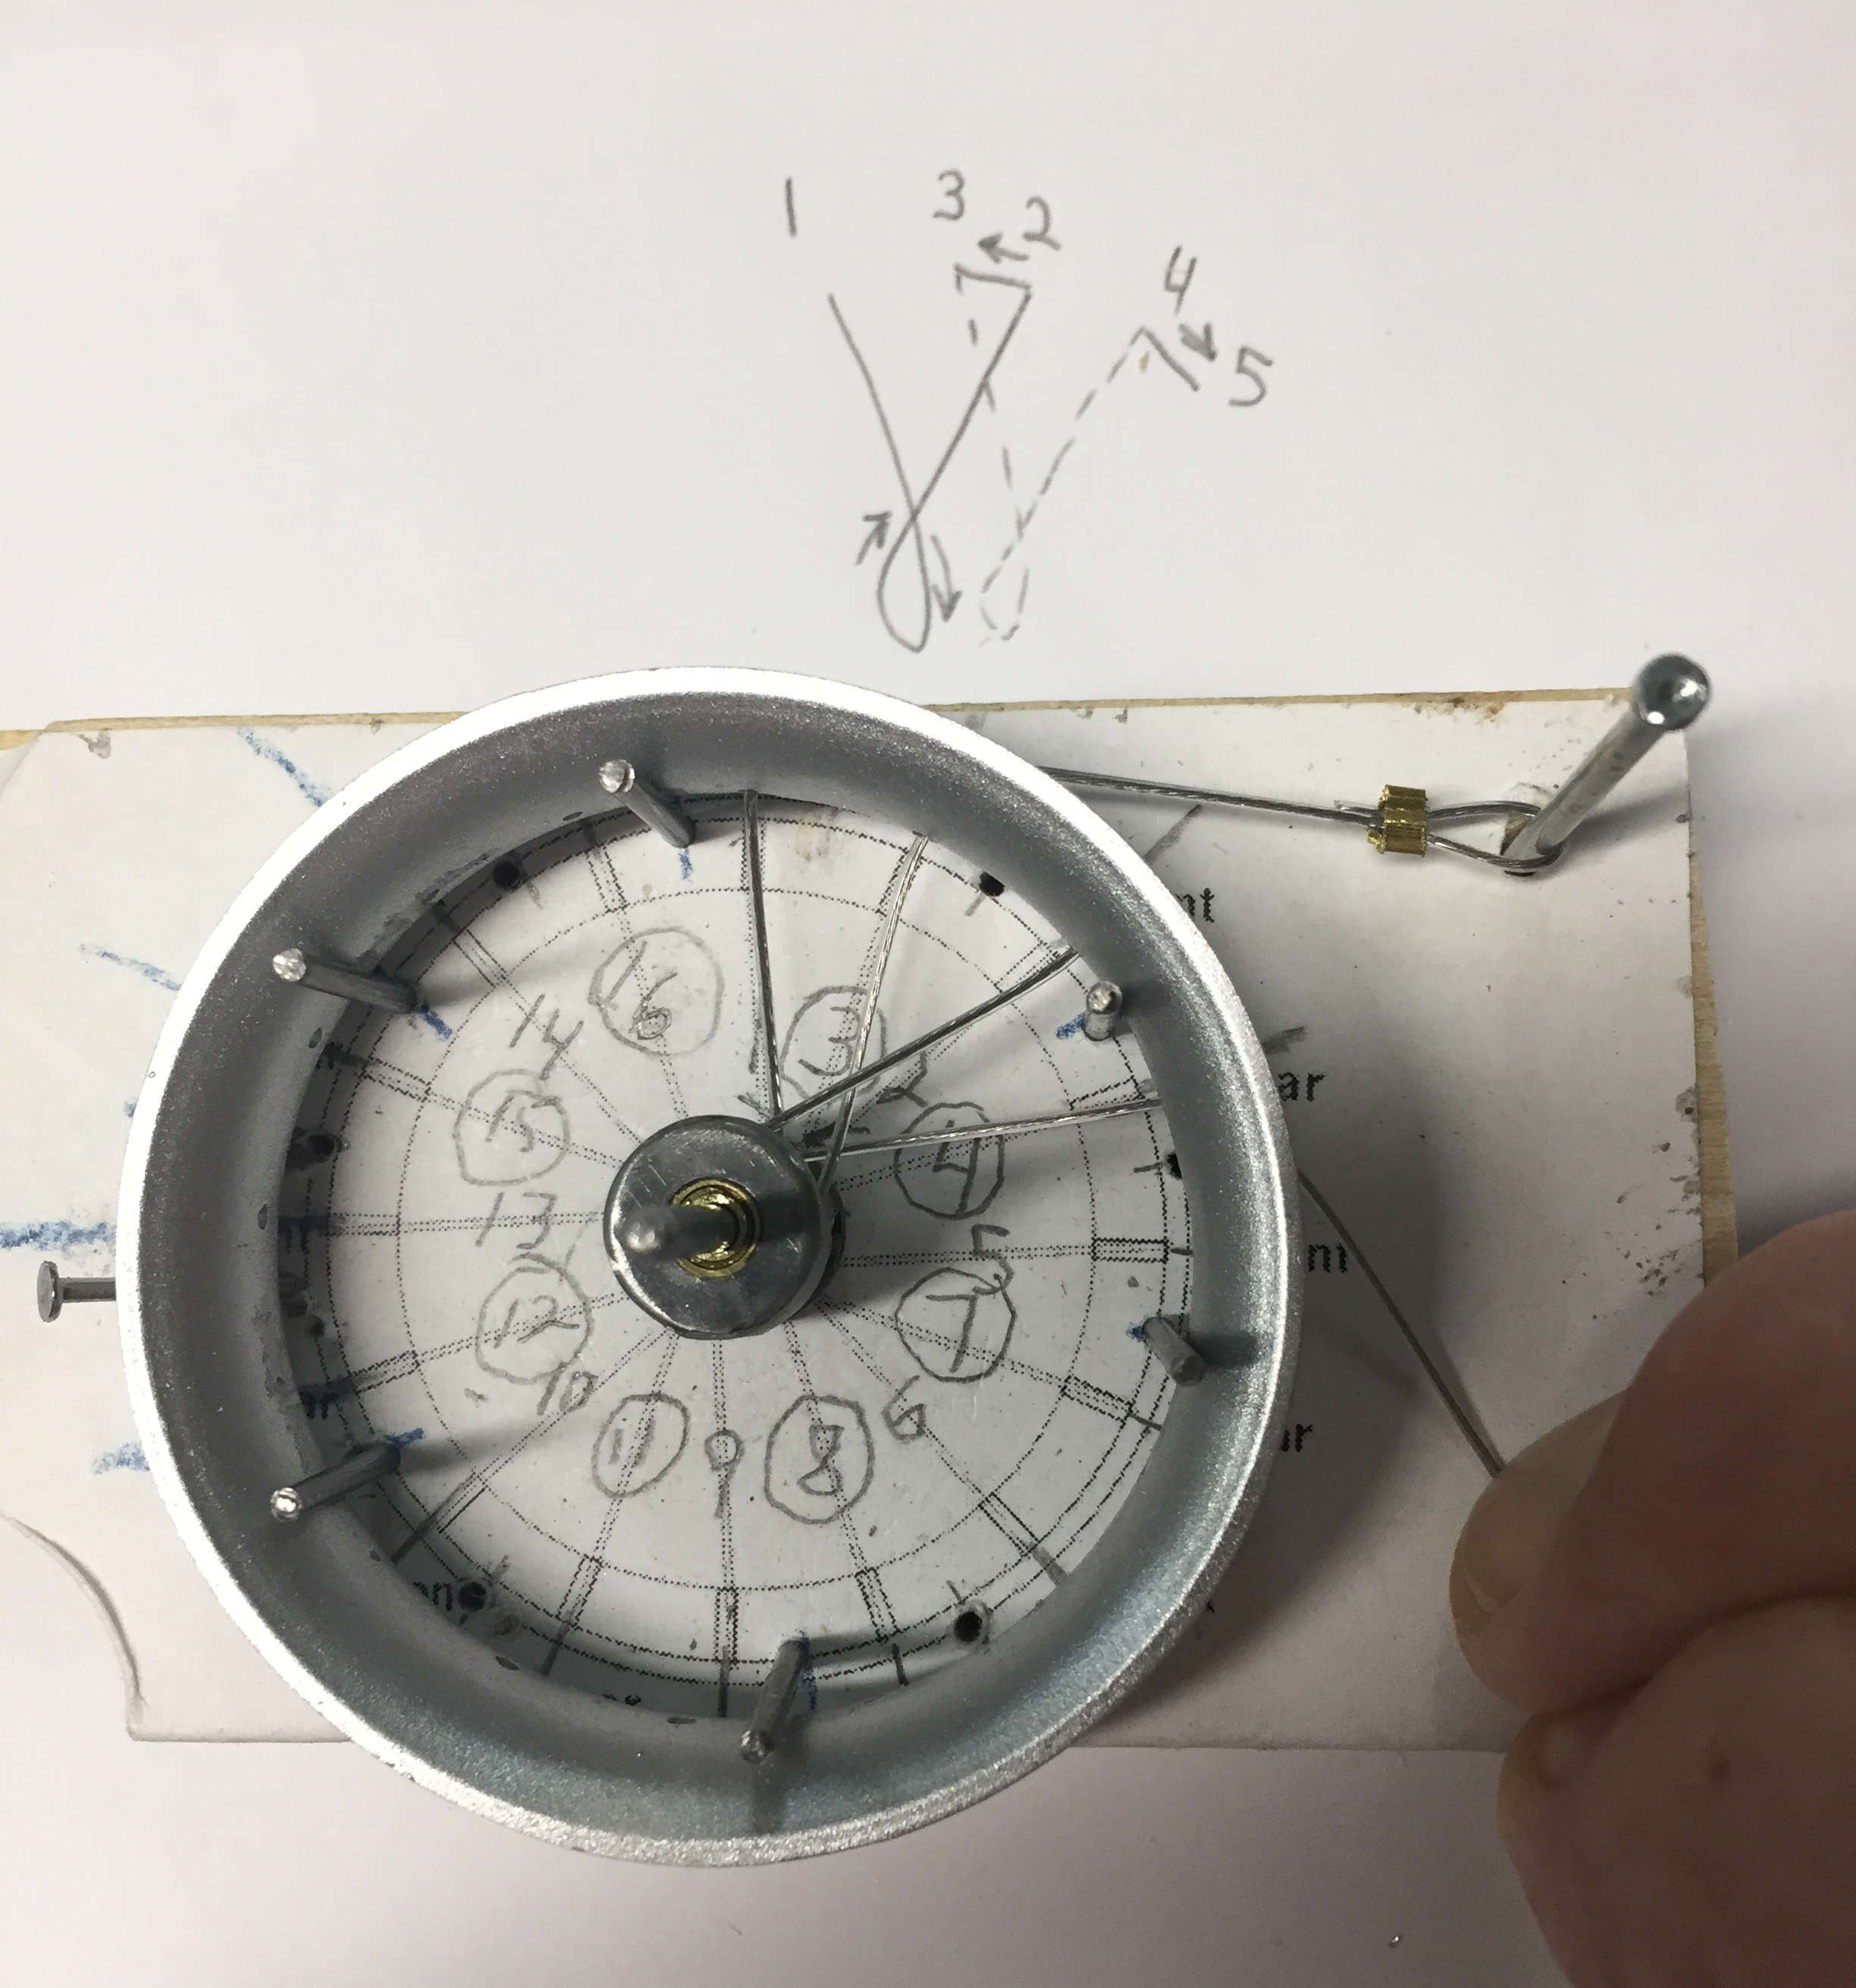
Note that on this diagram, “Front” refers to the upper section of the hub, and “Rear” refers to the lower section as it is mounted on the jig.
Use spray adhesive to attach it to a piece of scrap wood.
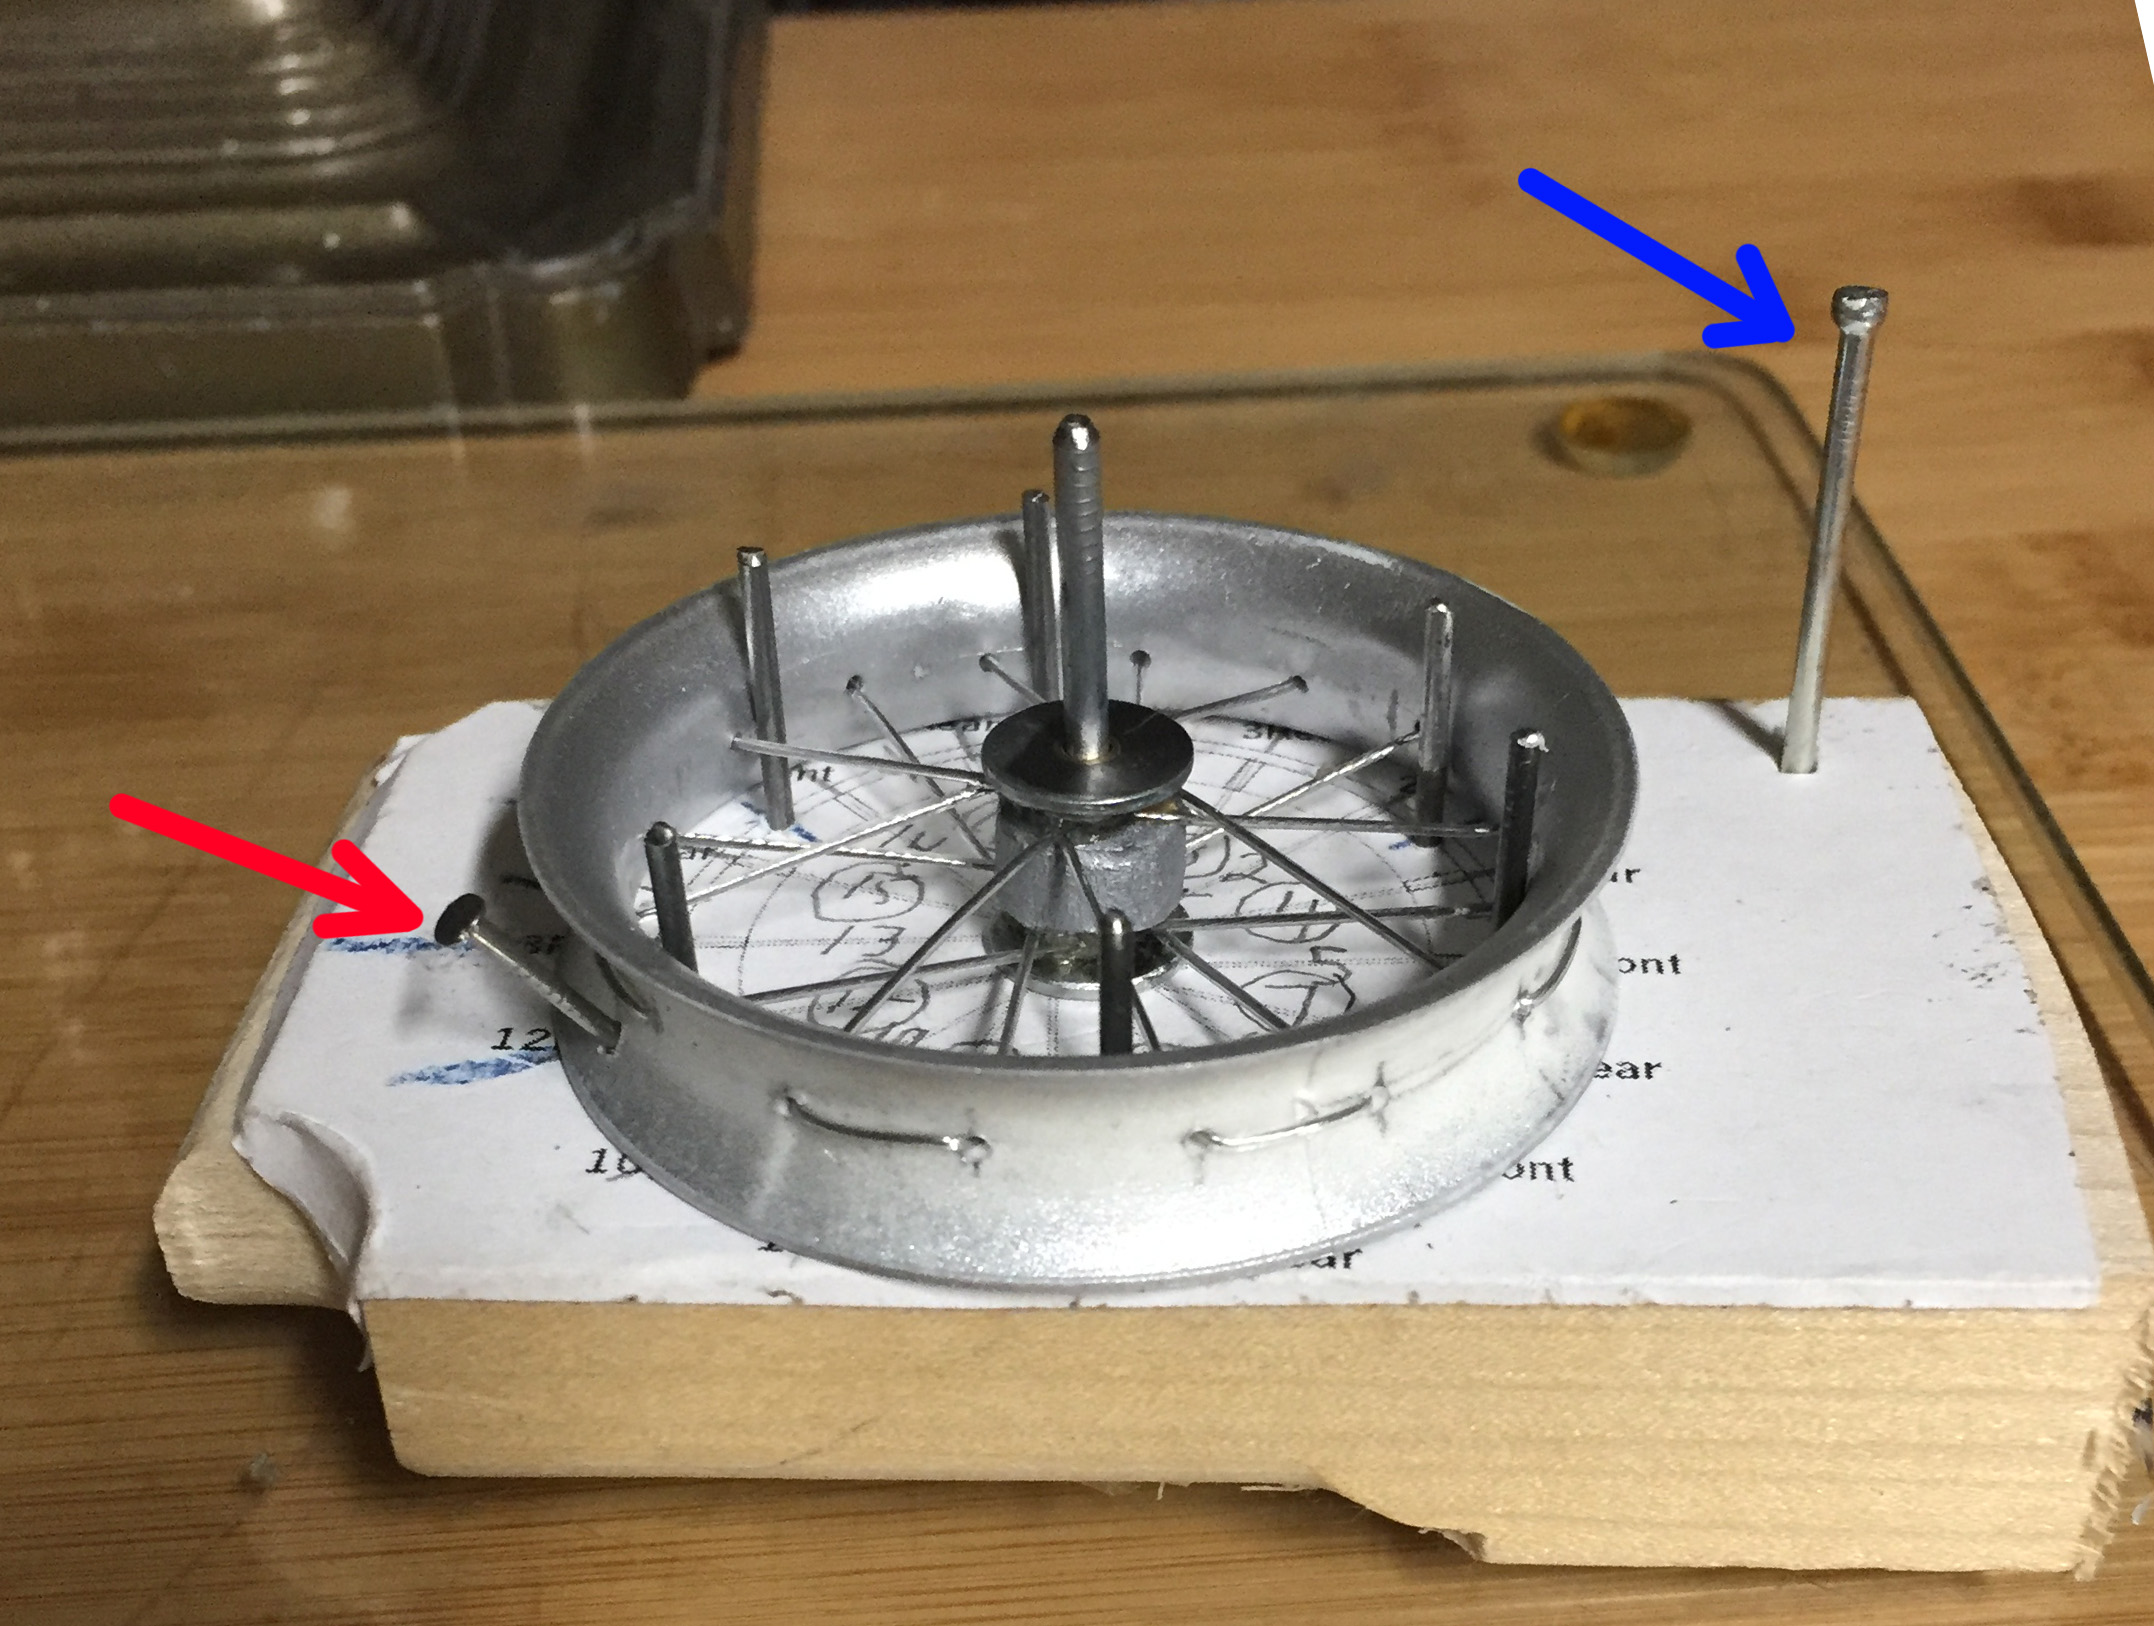
With a drill press, drill a hole in the center to fit the center post which must be the exact ID of the brass tube (I used a nail with the head cut off). Then drill six 1/16″ holes to retain the rim pretty much evenly spaced where they will not interfere with the spokes. You can see on my jig there is an extra set of holes — this is because the first set was too wide for the rim so I made another set of holes with a smaller diameter.
Cut sections of 1/16″ wire and place in the six holes.

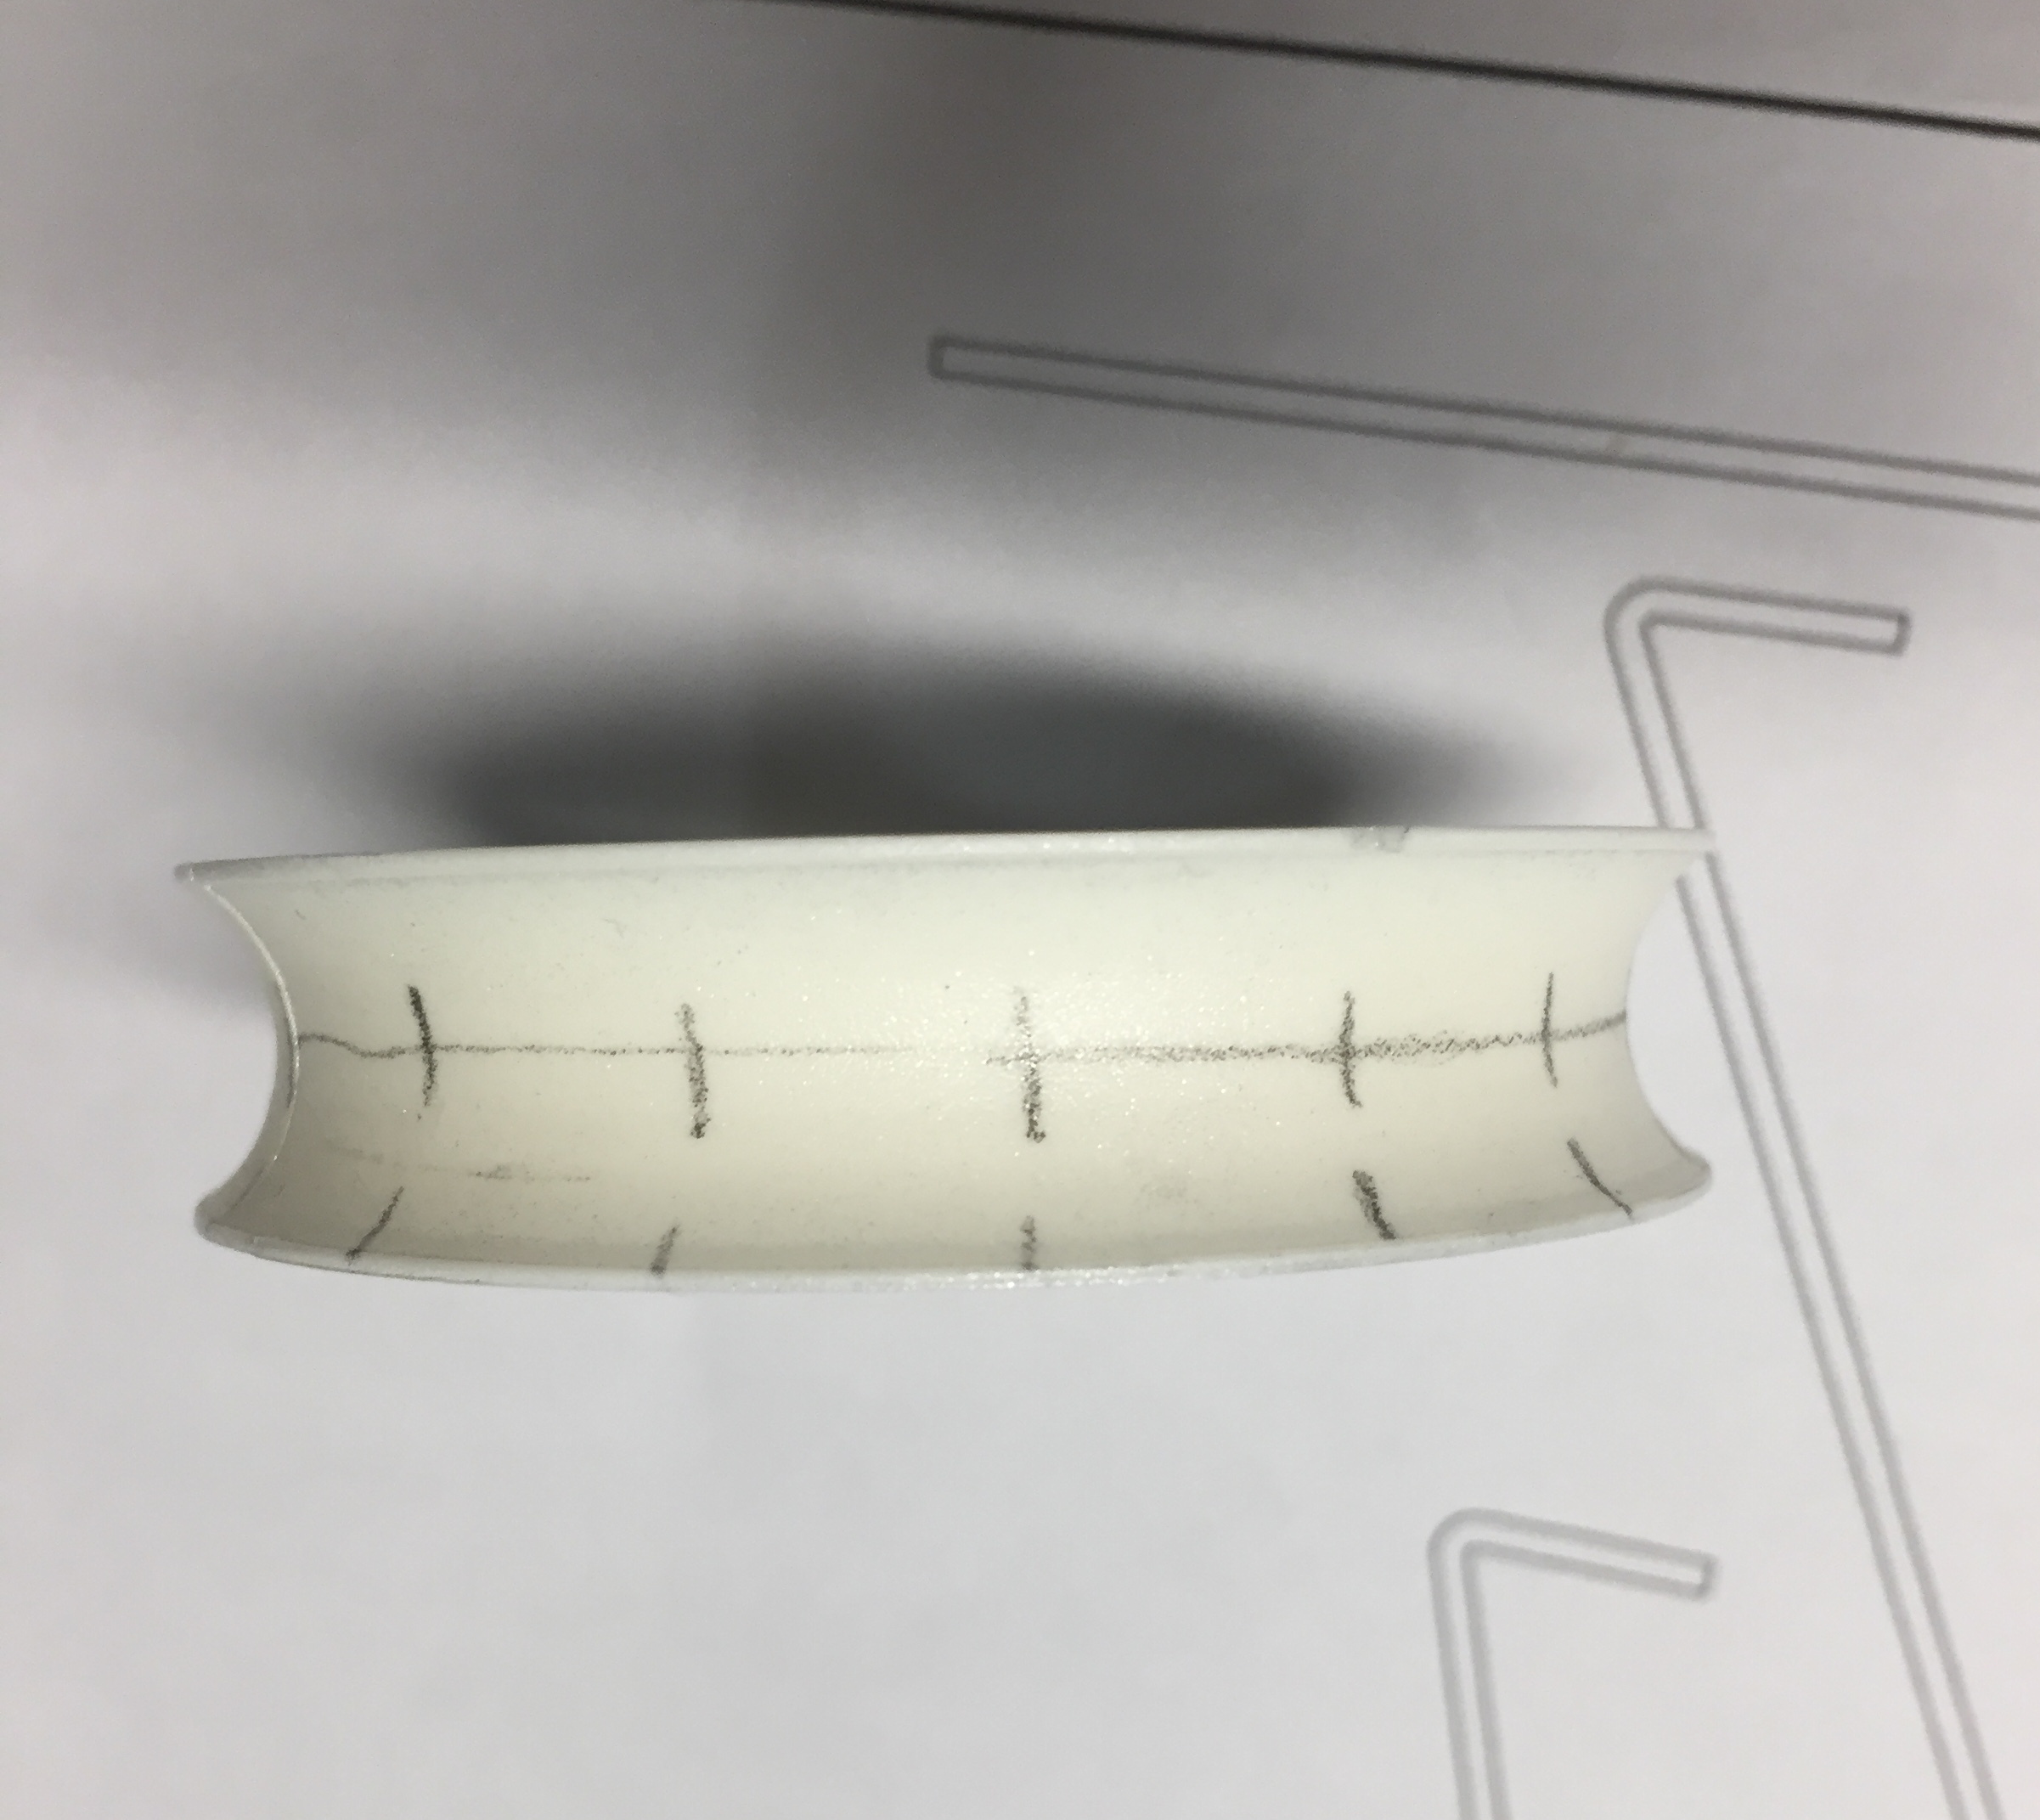
On the concave side of the rim, it’s easy to draw a centerline where the holes will be drilled.
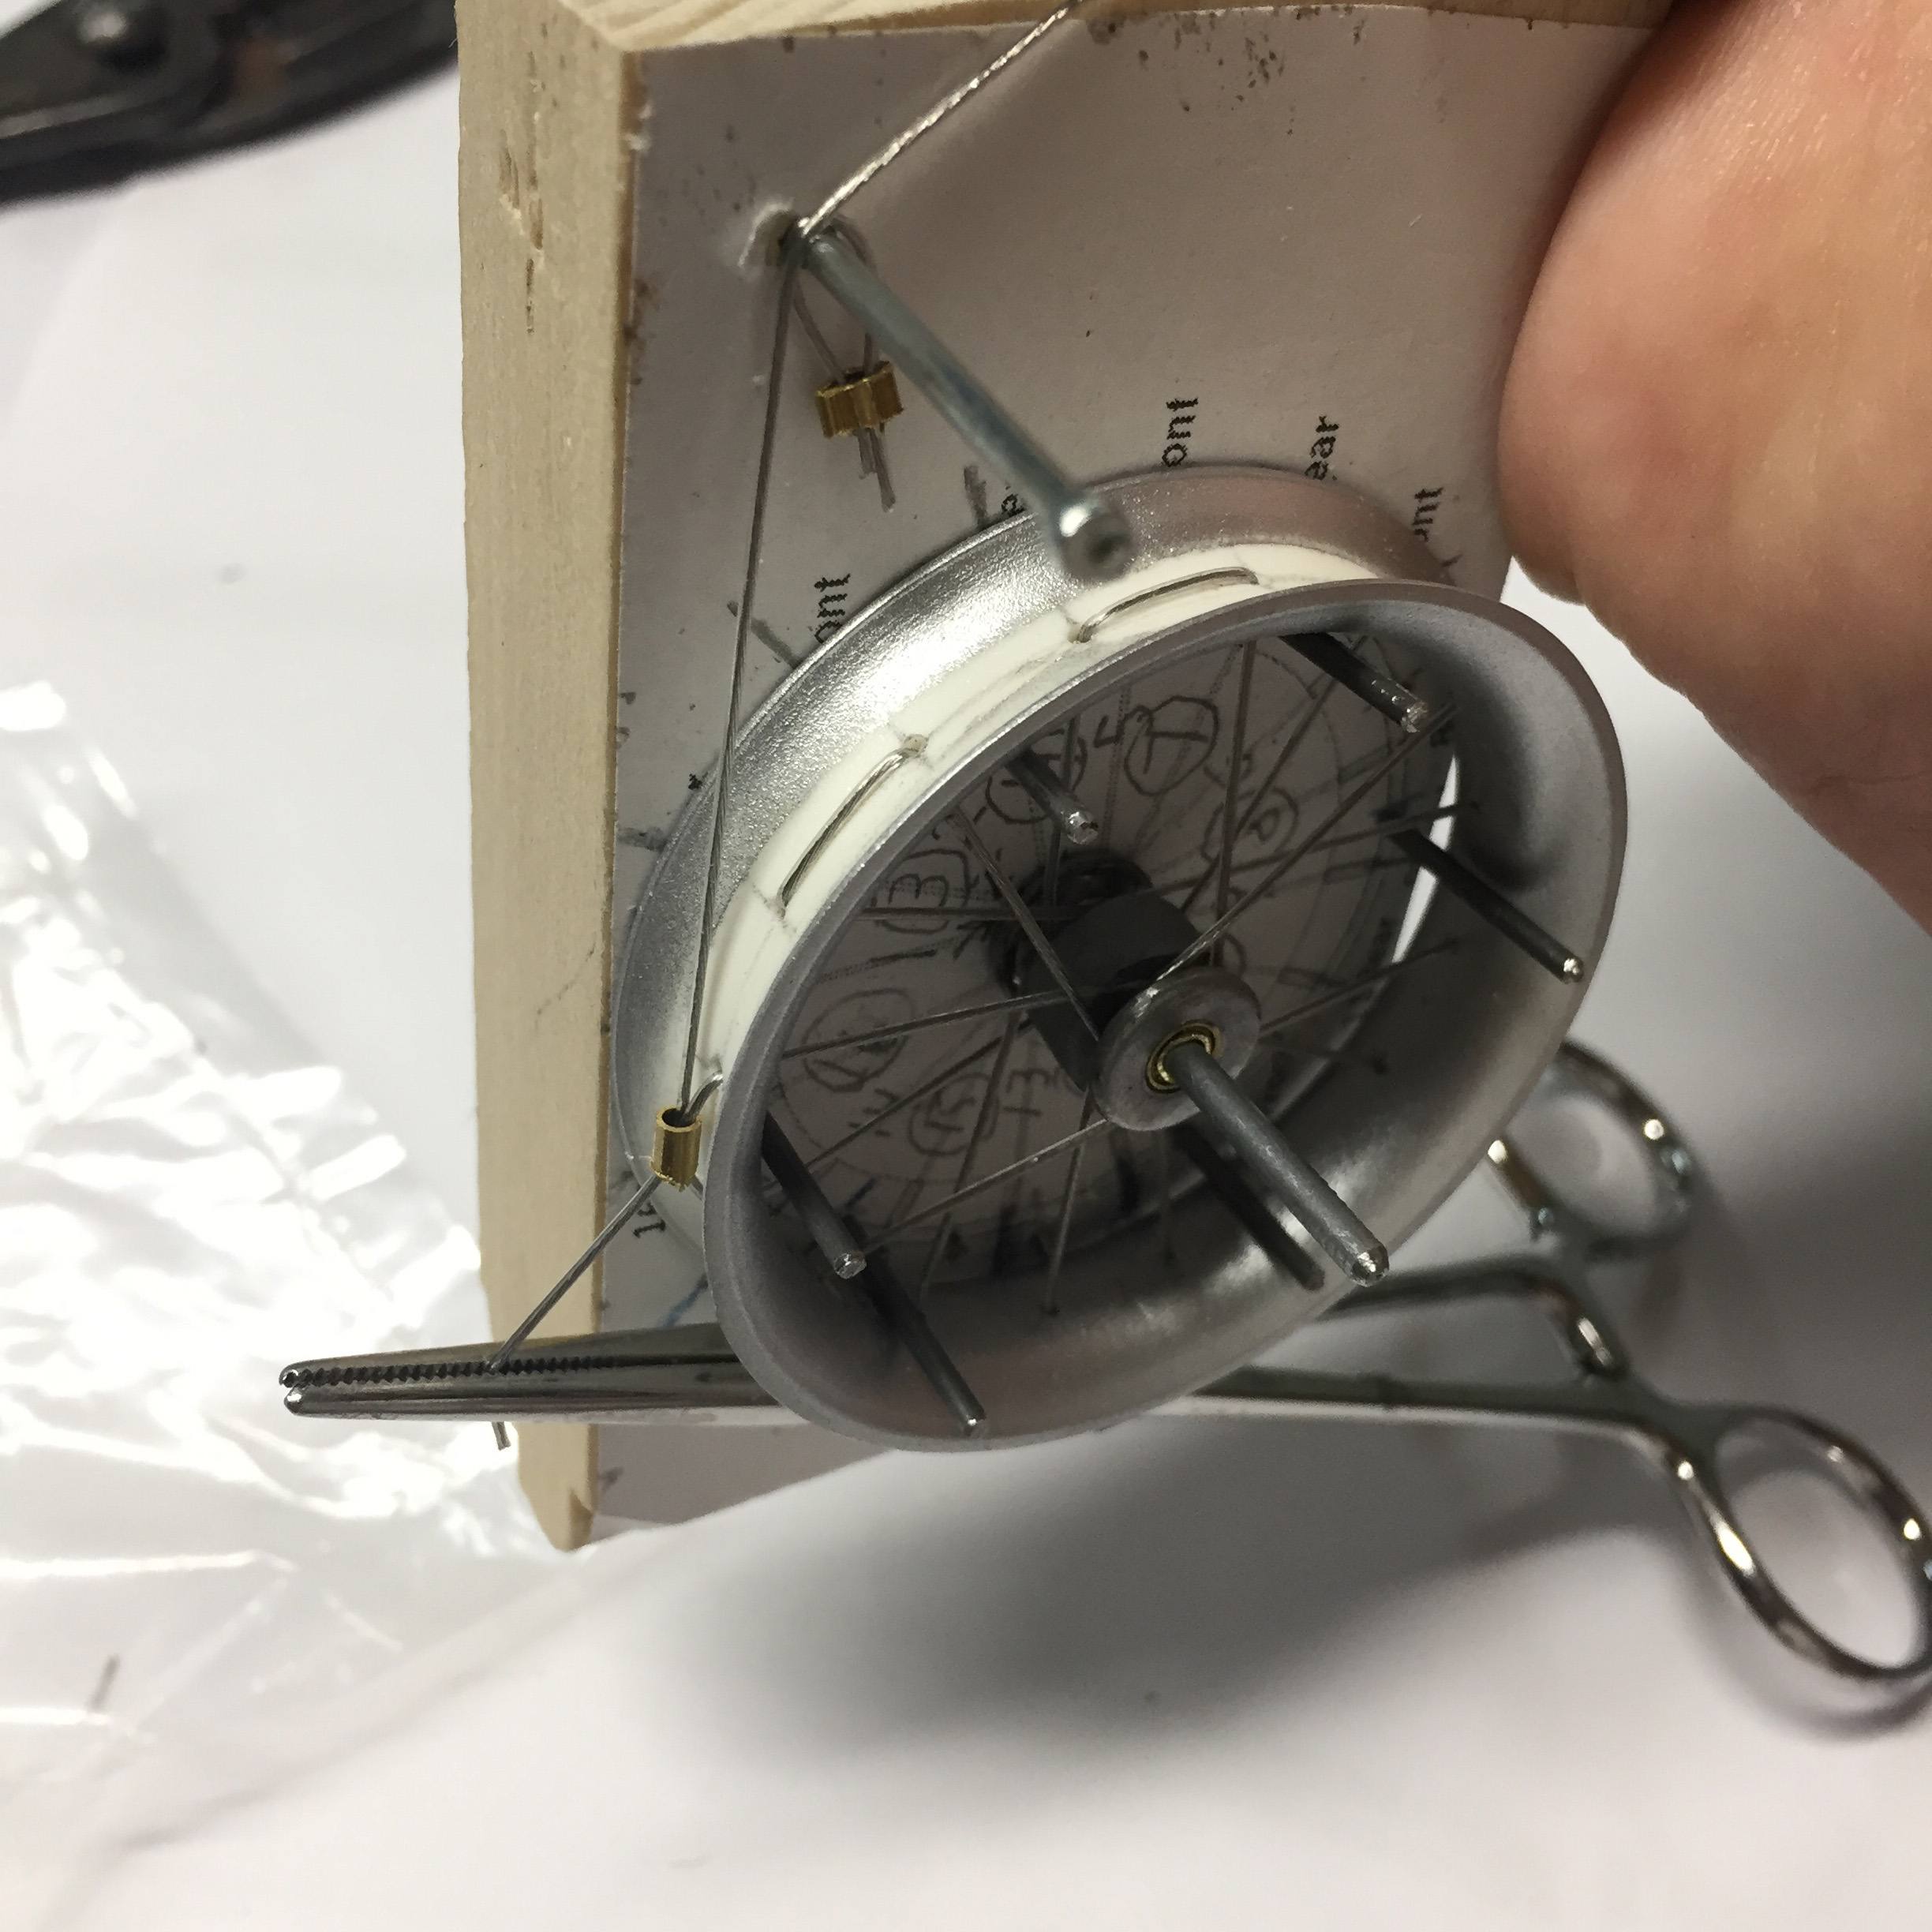
Temporarily place the rim on the jig, secured by these six wire posts.
Mark the concave side of the rim corresponding to where each spoke will be from the drawing on the jig. Remove from jig and drill 1/32″ holes where these marks cross the centerline.
Now is the time to paint the rim if you like.
Replace on jig, drill another 1/32″ hole and insert a small nail (see red arrow on photo) to keep the rim from rotating as you string it. (When complete, the hole that the nail made in the rim looks like a valve stem.)
Start by attaching the wire to the outside nail to hold it taut (blue arrow). For these 3″ wheels, a 36″ length of wire is more than enough to complete all the spokes.
The wire I used is Beadalon 7 strand (stainless?) steel plastic coated wire. I purchased it at Michael’s Craft Store. It is the same as the wire that came with the rudder pull-pull setup on my Cirrus Moth and I used it as rigging wire for the wings. It is flexible but not springy and very strong.
Thread the wire, looping under the top (Front), or over the bottom (Rear) washer as described in the diagram.
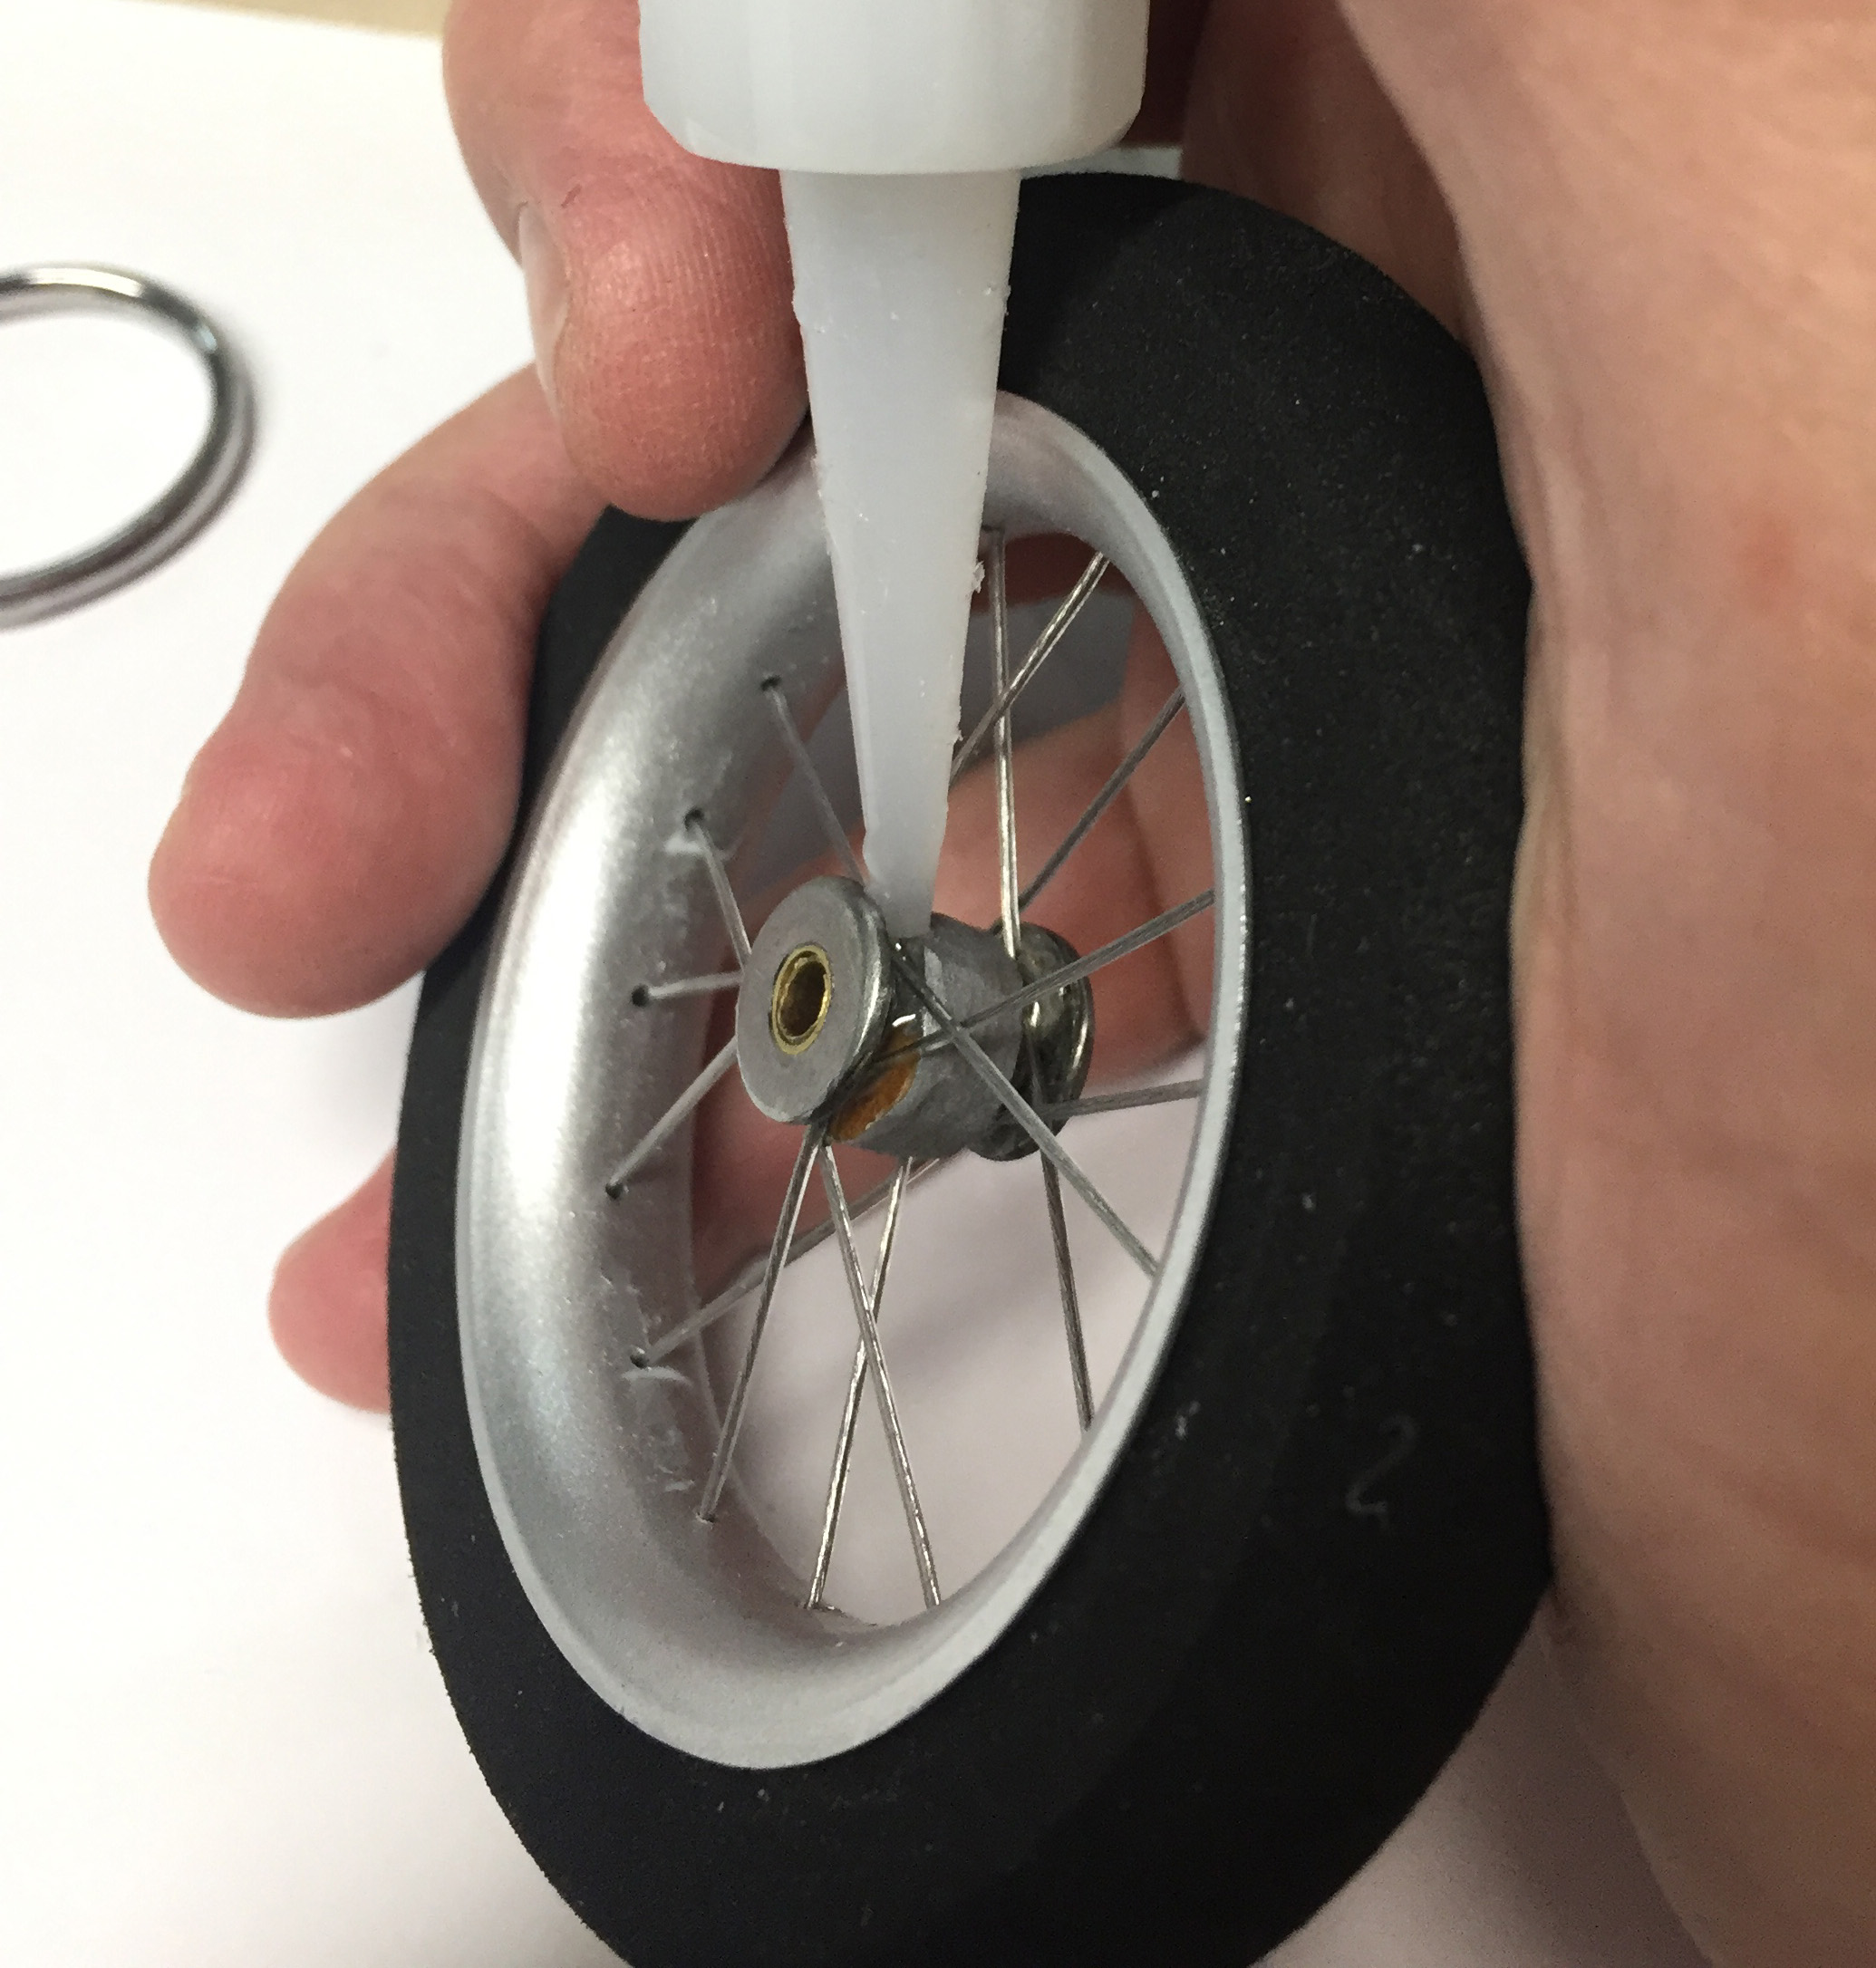
When complete, use a 1/16″ID brass tube section and crimp the two ends together.

Tweak the position of the hub if necessary so it turns true. Then drip some medium CA between the wood and the washer on both sides to keep it stable.


 Questions or Comments?